
The Bob Graham Round: a Photographic Tour
Leg One
Moot Hall (Keswick) to Threlkeld Cricket Club (12.28 miles/19.76km)
Summits Gained: Skiddaw (931m) | Great Calva (690) | Blencathra (868m)
A rather moody looking Skiddaw from the jetties on Derwentwater as a storm gathers overhead (September 2017).
Map of the full first leg of the BGR, with the recommended line of attack.
Leg One Overview: Well here we are, the start of the Bob Graham Round (BGR) where you might find yourself questioning your life decisions. Maybe not all of them, just the most recent one. At this point, and as you prepare to leave Keswick behind you, you’ll certainly need an excellent level of fitness, a pretty good sense of the route, and hopefully some company to help you along the way with good knowledge of the terrain you’re about to enjoy/endure.
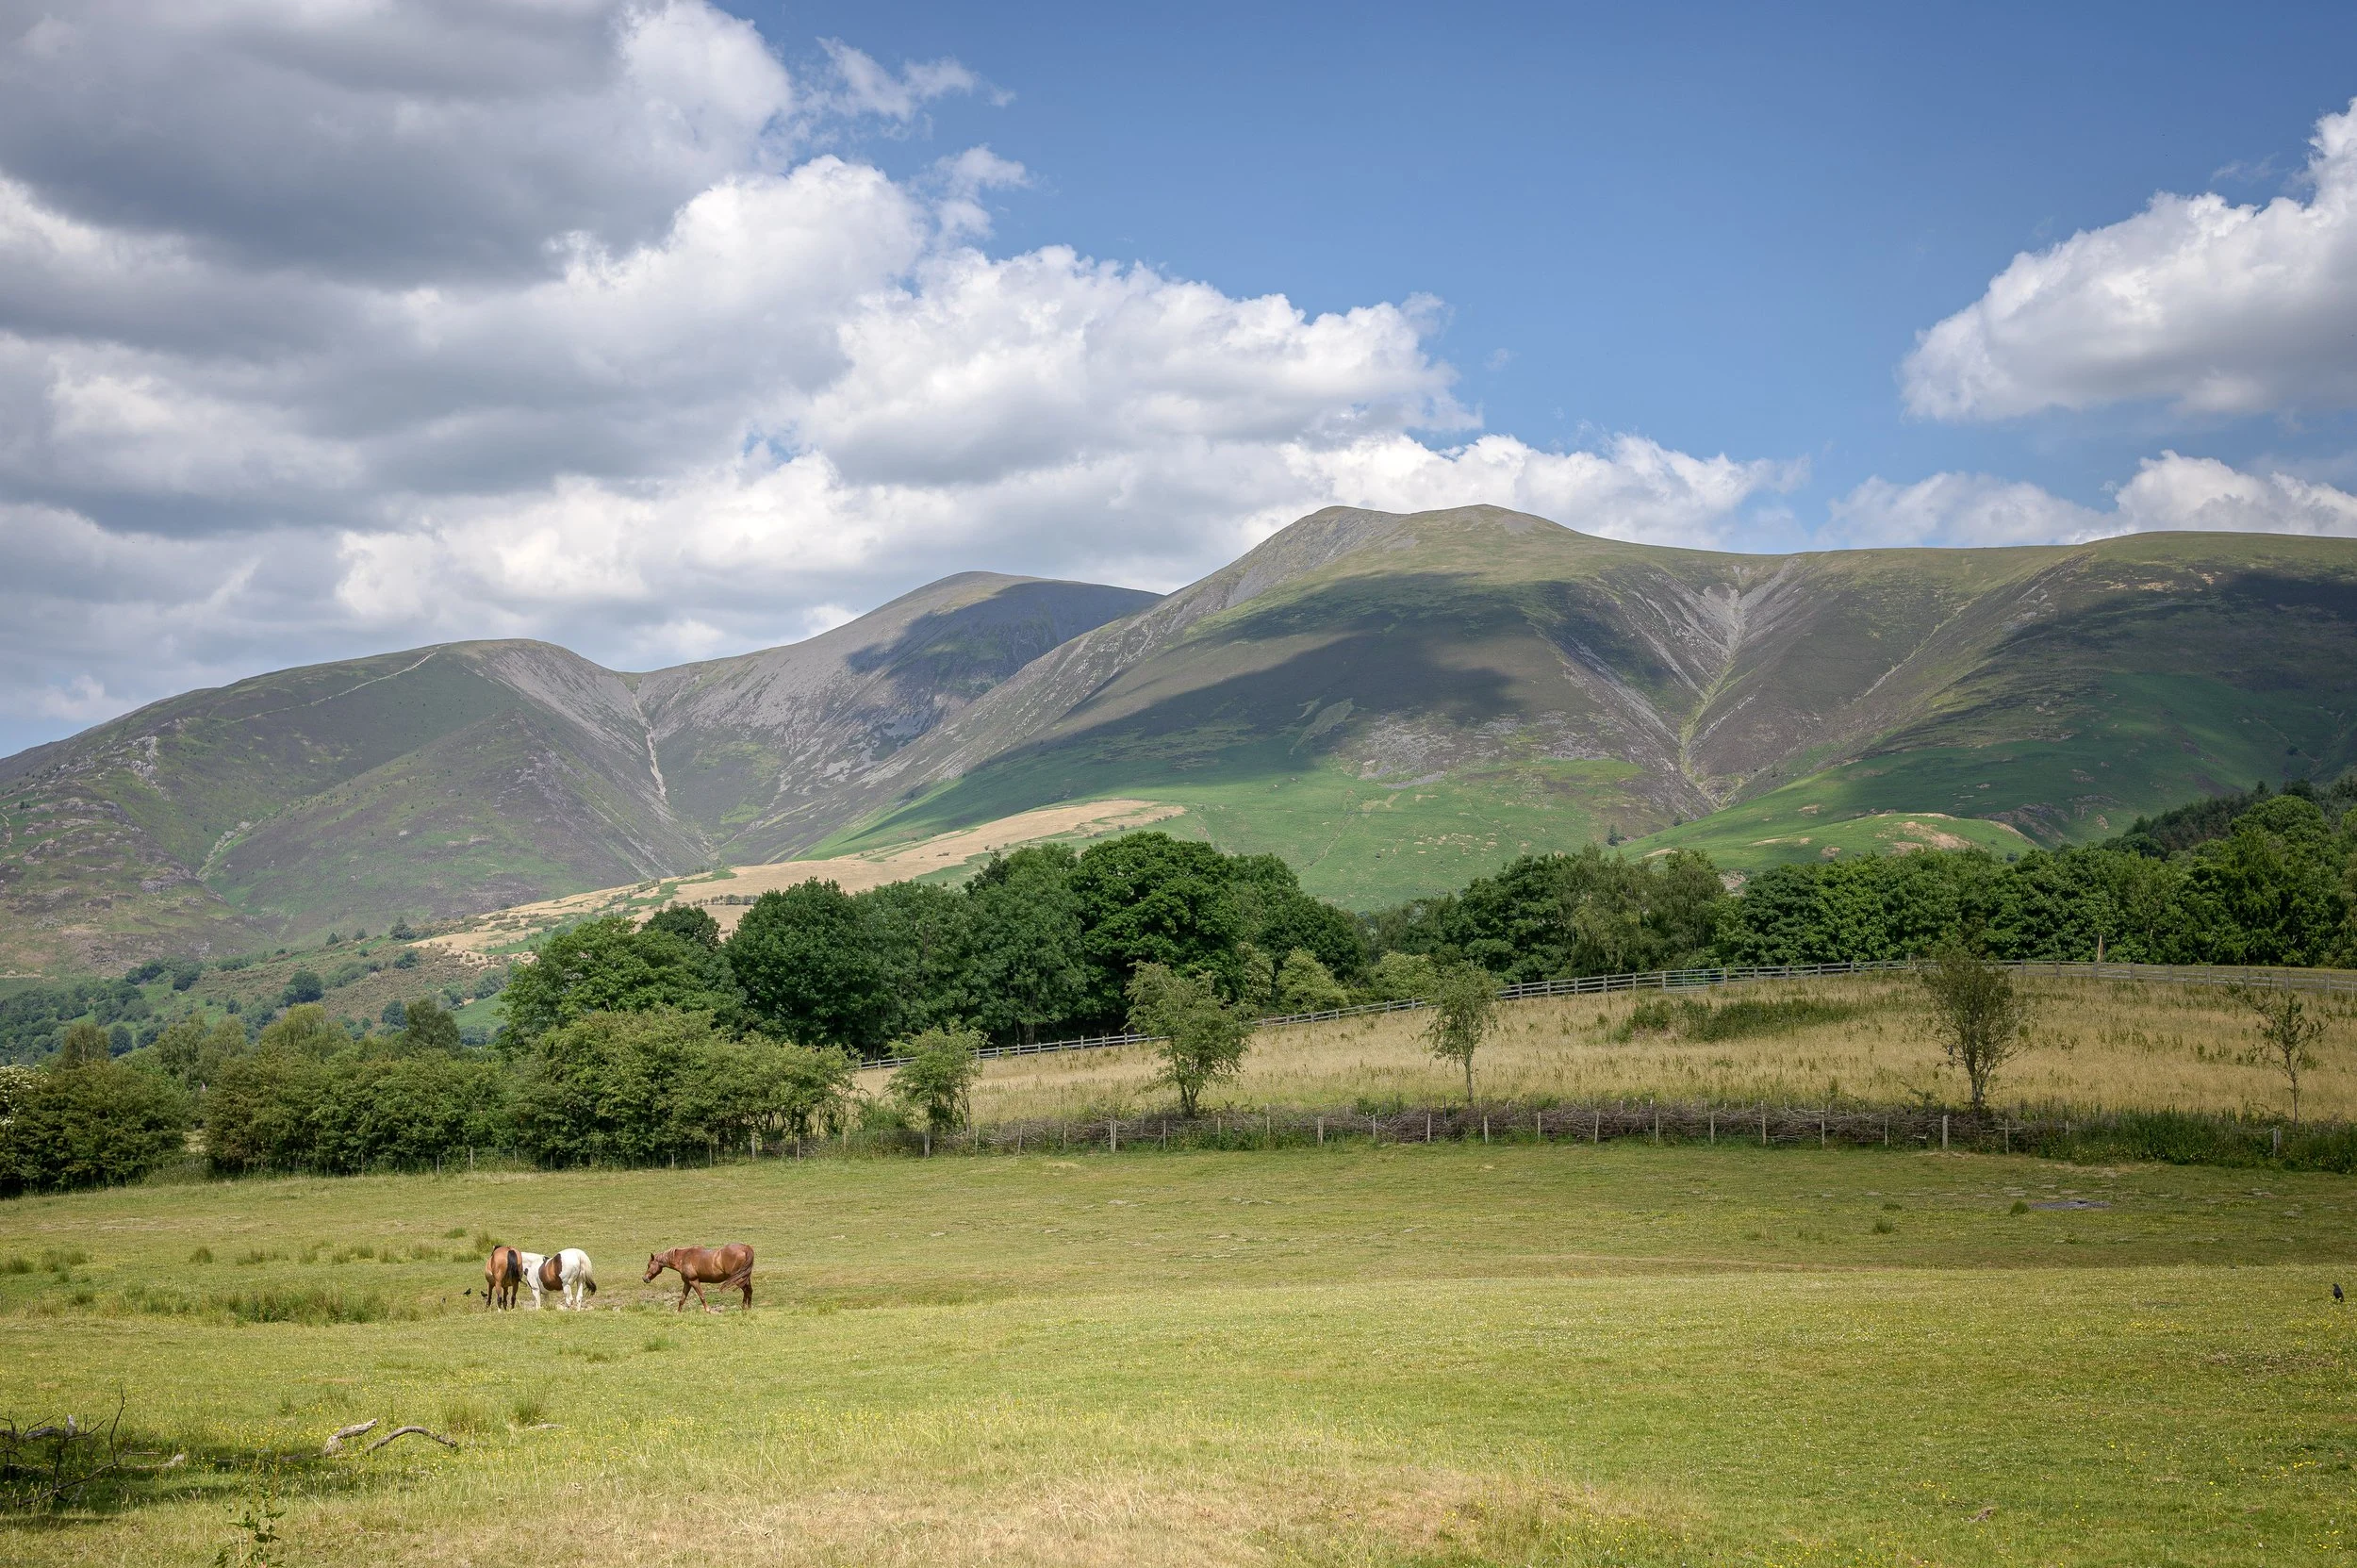
If you’re just doing this leg by itself then it’s a nice day of hiking or a pleasant few hours of fell running, but as part of the wider BGR you’ll need to reach the end point in Threlkeld with plenty left in the tank. The imposing view of Clough Head, that looms into view as you complete Leg One will assure you of this.
On this leg of the BGR you’ll only pick off three summits (Skiddaw, Great Calva, and Blencathra) which is pretty scant reward for almost 20km of running. It almost feels like the route in testing your resolve in this sense.
Leg One is a route of contrasts with Skiddaw and Blencathra being some of the busiest fells in the Lake District, while Great Calva is one of the least visited. Given that each fell stands alone there are no ridges that connect them which means plenty of ups and downs along the way. You also cover urban roads, open trails, boggy moorland, and craggy ridges.
To me, Skiddaw is a simple drag up the tourist track to the summit, Great Calva is probably my least favourite fell in the entirety of the Lakes (more on the joys of this below), but Blencathra and Hall’s Fell are simply wonderful and one of my favourite fells in Cumbria. A goal of around four hours for the entirety of Leg One is pretty much ideal if you’re going for a 24-hour push of the BGR. Best of luck on your first section of the route.
Leg One - Section One
Moot Hall (Keswick) to Hawell Monument (base of Skiddaw)
Summits Gained: None

Your start and finish point on the Bob Graham Round, the Moot Hall in Keswick (June, 2023).
Overview: On this seb-section, we’re starting at the Moot Hall in Keswick (which is also your finish point for the full BGR) and heading out north to the Hawell Monument that marks the start of the proper climb up to the summit of Skiddaw. What fun!
This is a rather gentle section of the whole round which might feel a little odd given that you’re starting on roads, with people milling around, but this soon gives way to nice trails and gentle paths, that bring you up out of the town, around the foot of Latrigg with your first summit (Skiddaw) looming over you in the distance.
From the Moot Hall the line of attack I generally take is Station Road, that cuts through Upper Fitz Park and Lower Fitz Park, out past the large leisure centre (currently run by Better), then onto Brundholme Road, and then turning northwards onto Spooneygreen Lane.
From here on in it’s a simple pull up along the easy trail that cuts over the A66, and around the foot of Latrigg (368m). Avoid the temptation to head up this modest fell as it isn’t part of the BGR and you’ll likely lose time if you head up in this direction.
This route is actually part of the Cumbria Way so expect to find plenty of hikers here, but it is also the standard hiking path that brings you up to the Hawell Monument which marks the steep path up to the summit of Skiddaw.
There is, a small road (Gale Road) and car park that you’ll have to navigate towards the end of this section, which comes out of nowhere. But once this is gained you’re pretty much a minute or two from the endpoint of sub-section one of this leg of the BGR. With no technical ground covered and no problems that might impede navigation, there is little on this section of the BGR that should stop you from reaching the Hawell Monument in good order.


End of Leg One, Section One | Summits Gained = 0/42 (but at least you’re on the way)
Leg One - Section Two
Hawell Monument to Skiddaw Summit
Summits Gained: Skiddaw

The Skiddaw massif in deep winter dusk, shot from Blencathra on a cold Boxing Day hike. As your first peak on the BGR it will certainly wake up your legs and lungs on the way up from Keswick (December 2019).
Overview: Once you’ve found the Hawell Monument you’re away from Keswick, the road, the car park(s), but not necessarily people. Hikers and fell runners are likely to be with you on most of this second section of leg one, unless you’re setting off in the evening as is often the case on the Bob Graham Round (although I tend to favour a 7am start from Keswick…maybe I’m just odd).
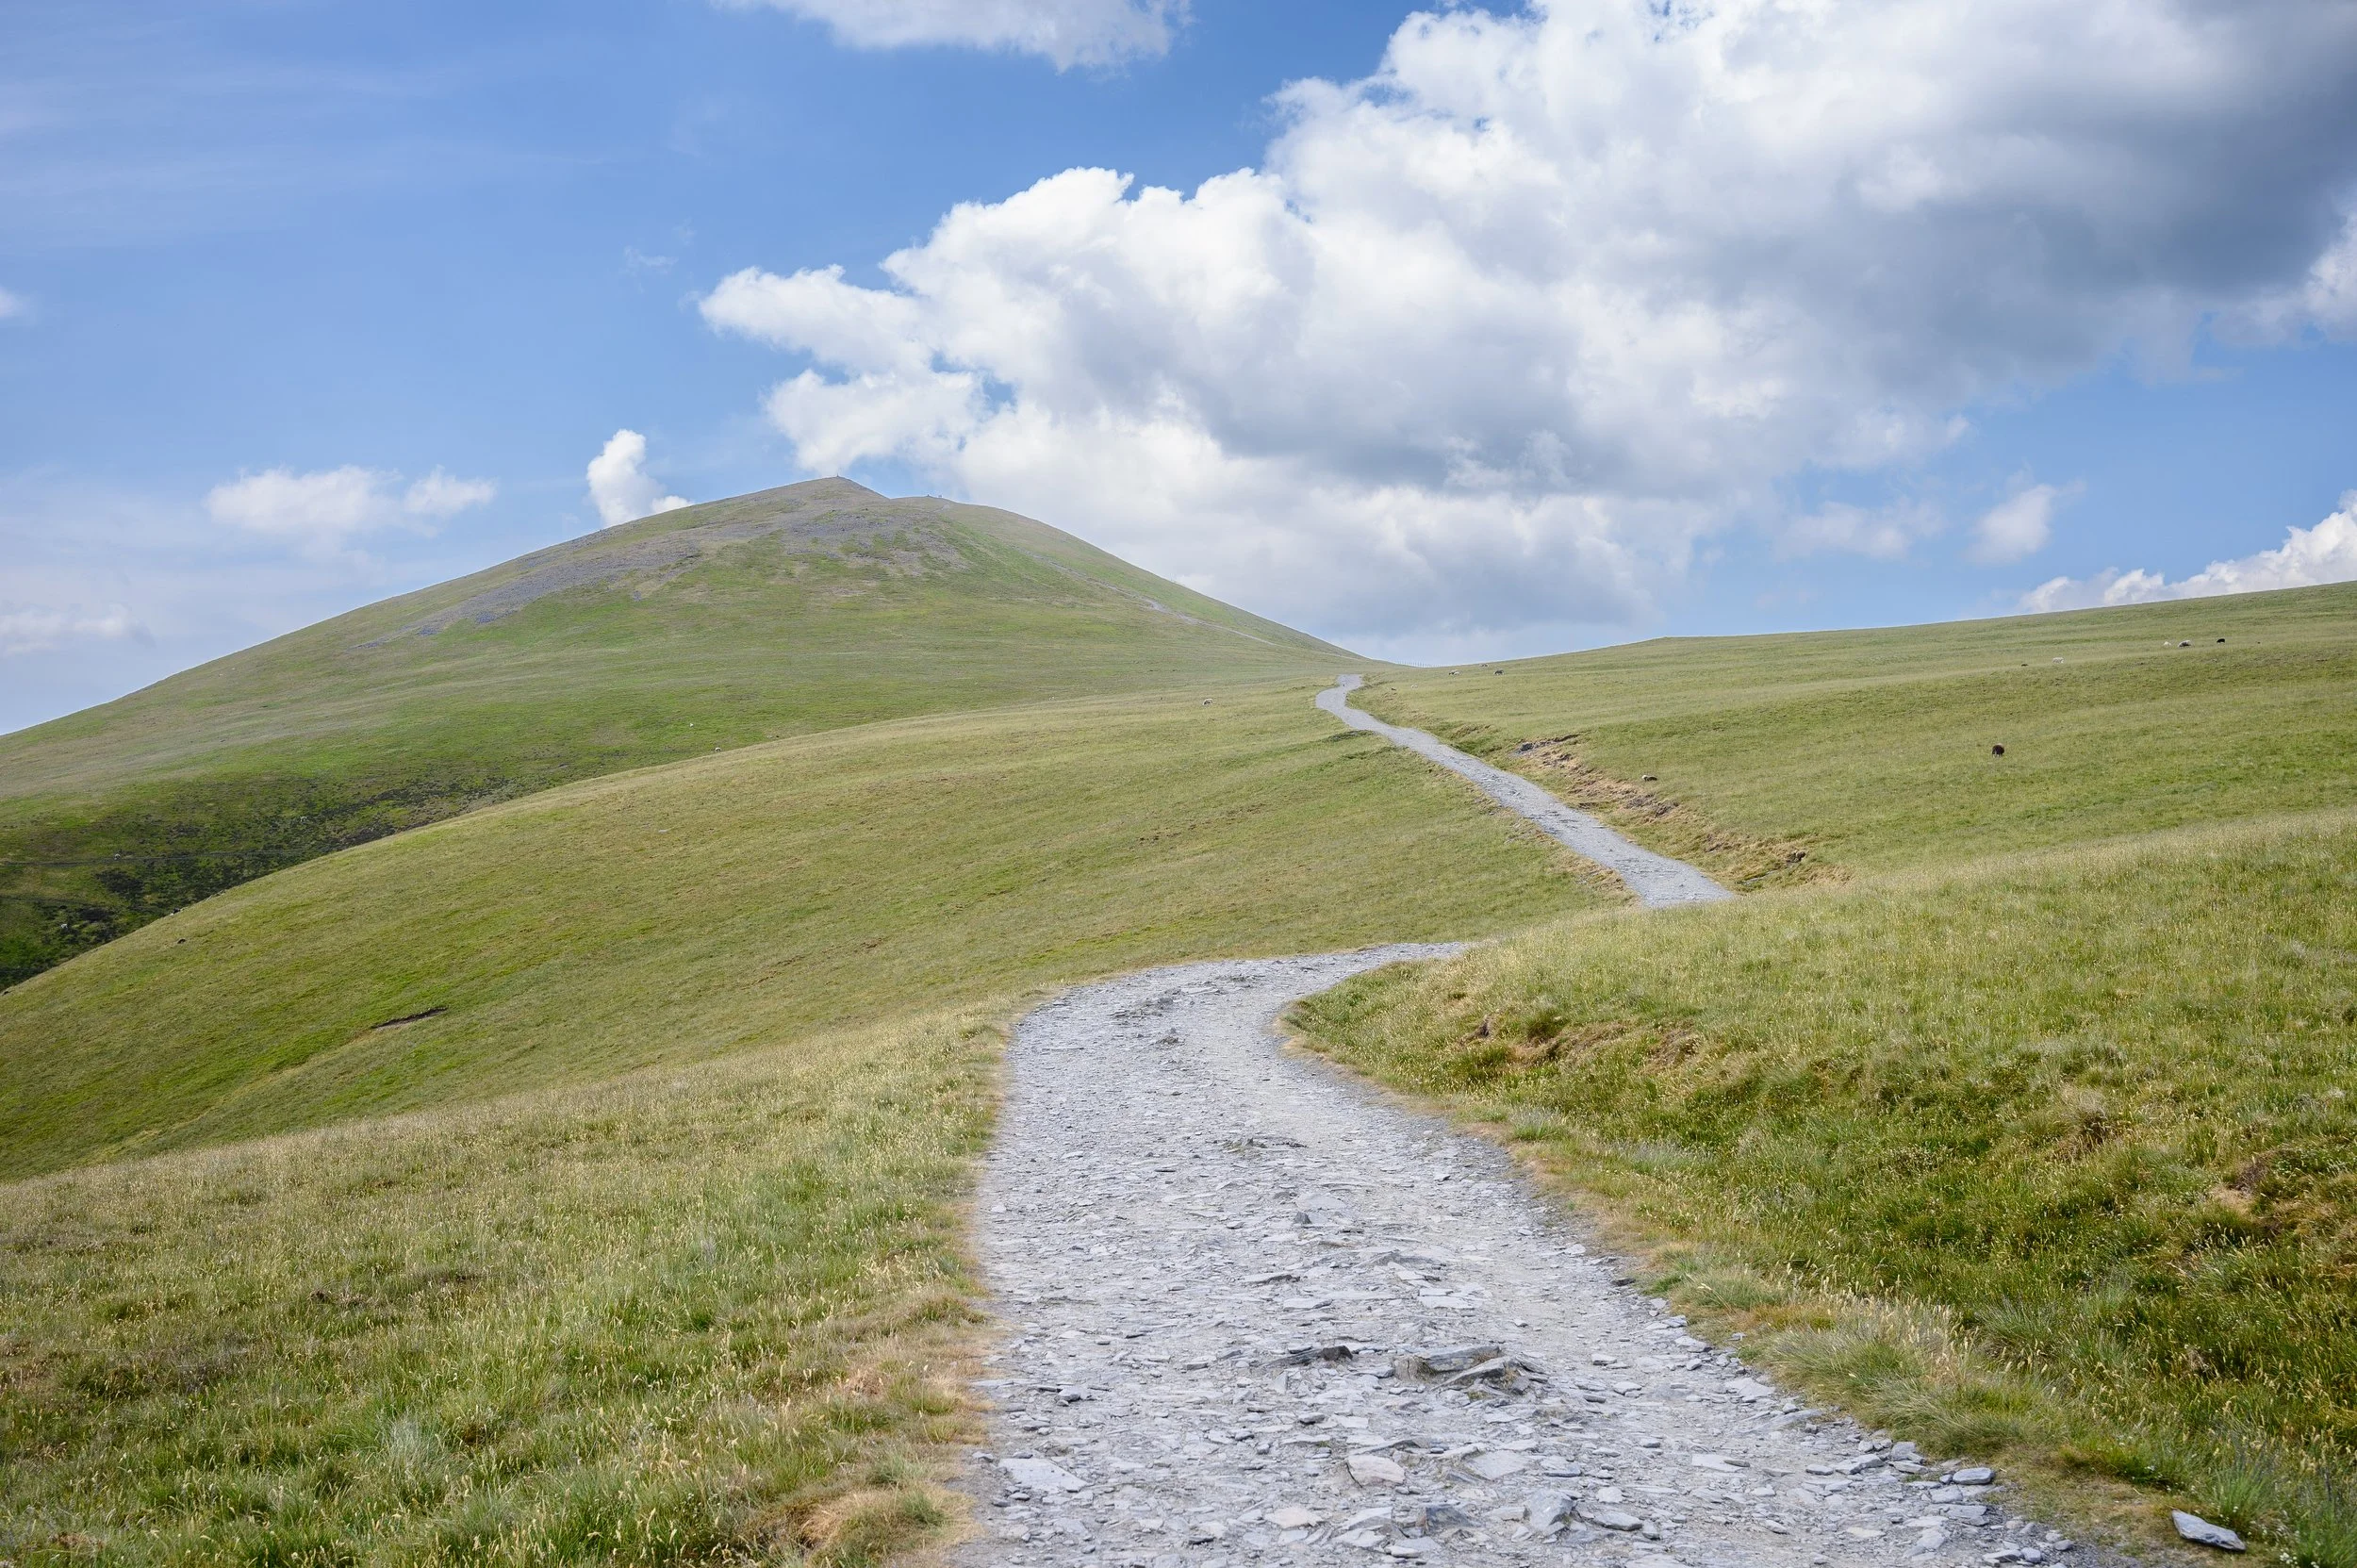
From the Hawell Monument the path suddenly gets a good deal steeper as you begin the proper assent up to your first summit - that of Skiddaw. At 931m it is a considerable pull up from your location but one that is without any difficulty in terms of technical ground or navigation. It is merely a long-ish slog up good trail running ground.
Perhaps the only point at which you need to pay a good deal of attention is the approach to the fork in the road which (left) leads up to Skiddaw Little Man, or (right) around the base of the fell which avoids this summit. This fork comes at about the halfway point on this section but be sure to avoid the Skiddaw Little Man path and make a beeline for Skiddaw per se. Go right and through the gate, rather than left. See the images below for this. Other than this, you should cruise up this section without any trouble.
Skiddaw itself is the sixth highest peak in England and is exceptionally popular with fell walkers the year round, so be prepared to dodge the crowds here as you head up. That said, given the easy nature of the fell few will stop you to ask for directions or the like.
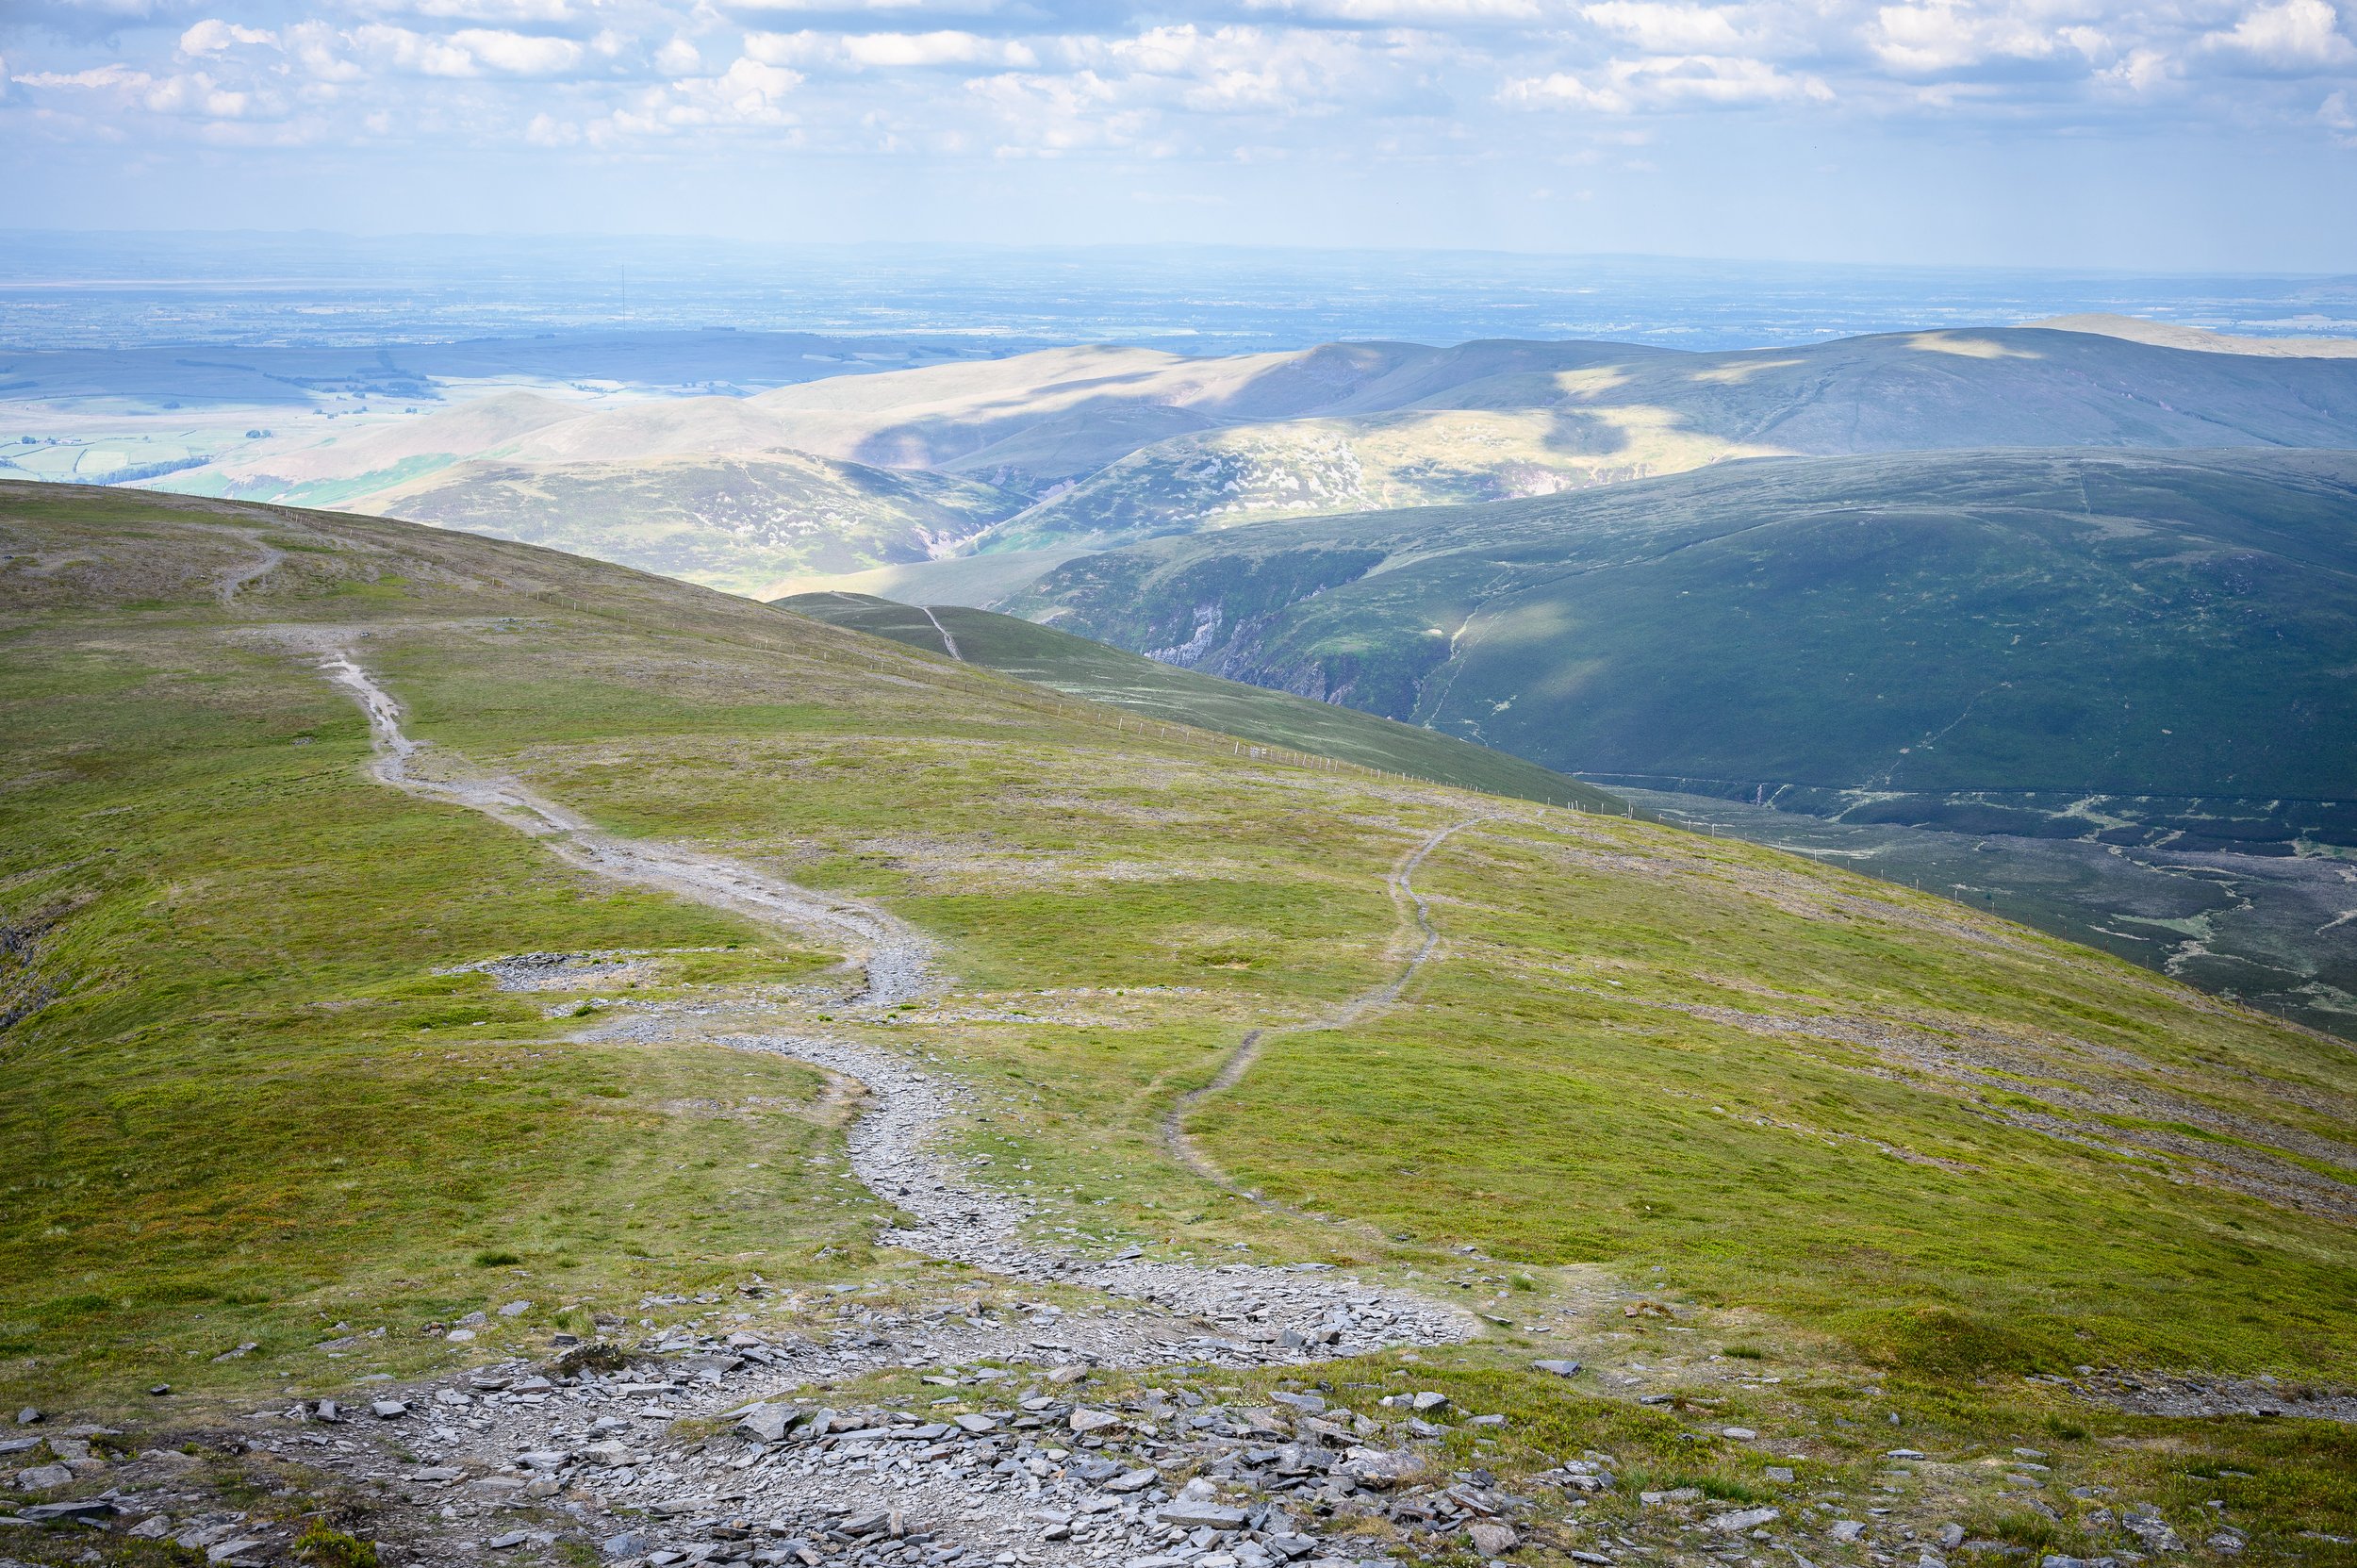
As you make your way up the long path you’ll begin to catch sight of your second and third peaks too - Great Calva and Blencathra. This should spur you on as seeing the fell tops come into view is often uplifting, but it will also become apparent that there is a good deal of descent and ascent to come given just how isolated and separate each fell of the first leg is relative to one another. Still you’re on the way to your first peak now!


End of Leg One, Section Two | Summits Gained = 1/42 (first one is in the bag)
Leg One - Section Three
Skiddaw Summit to Great Calva
Summits Gained: Great Calva

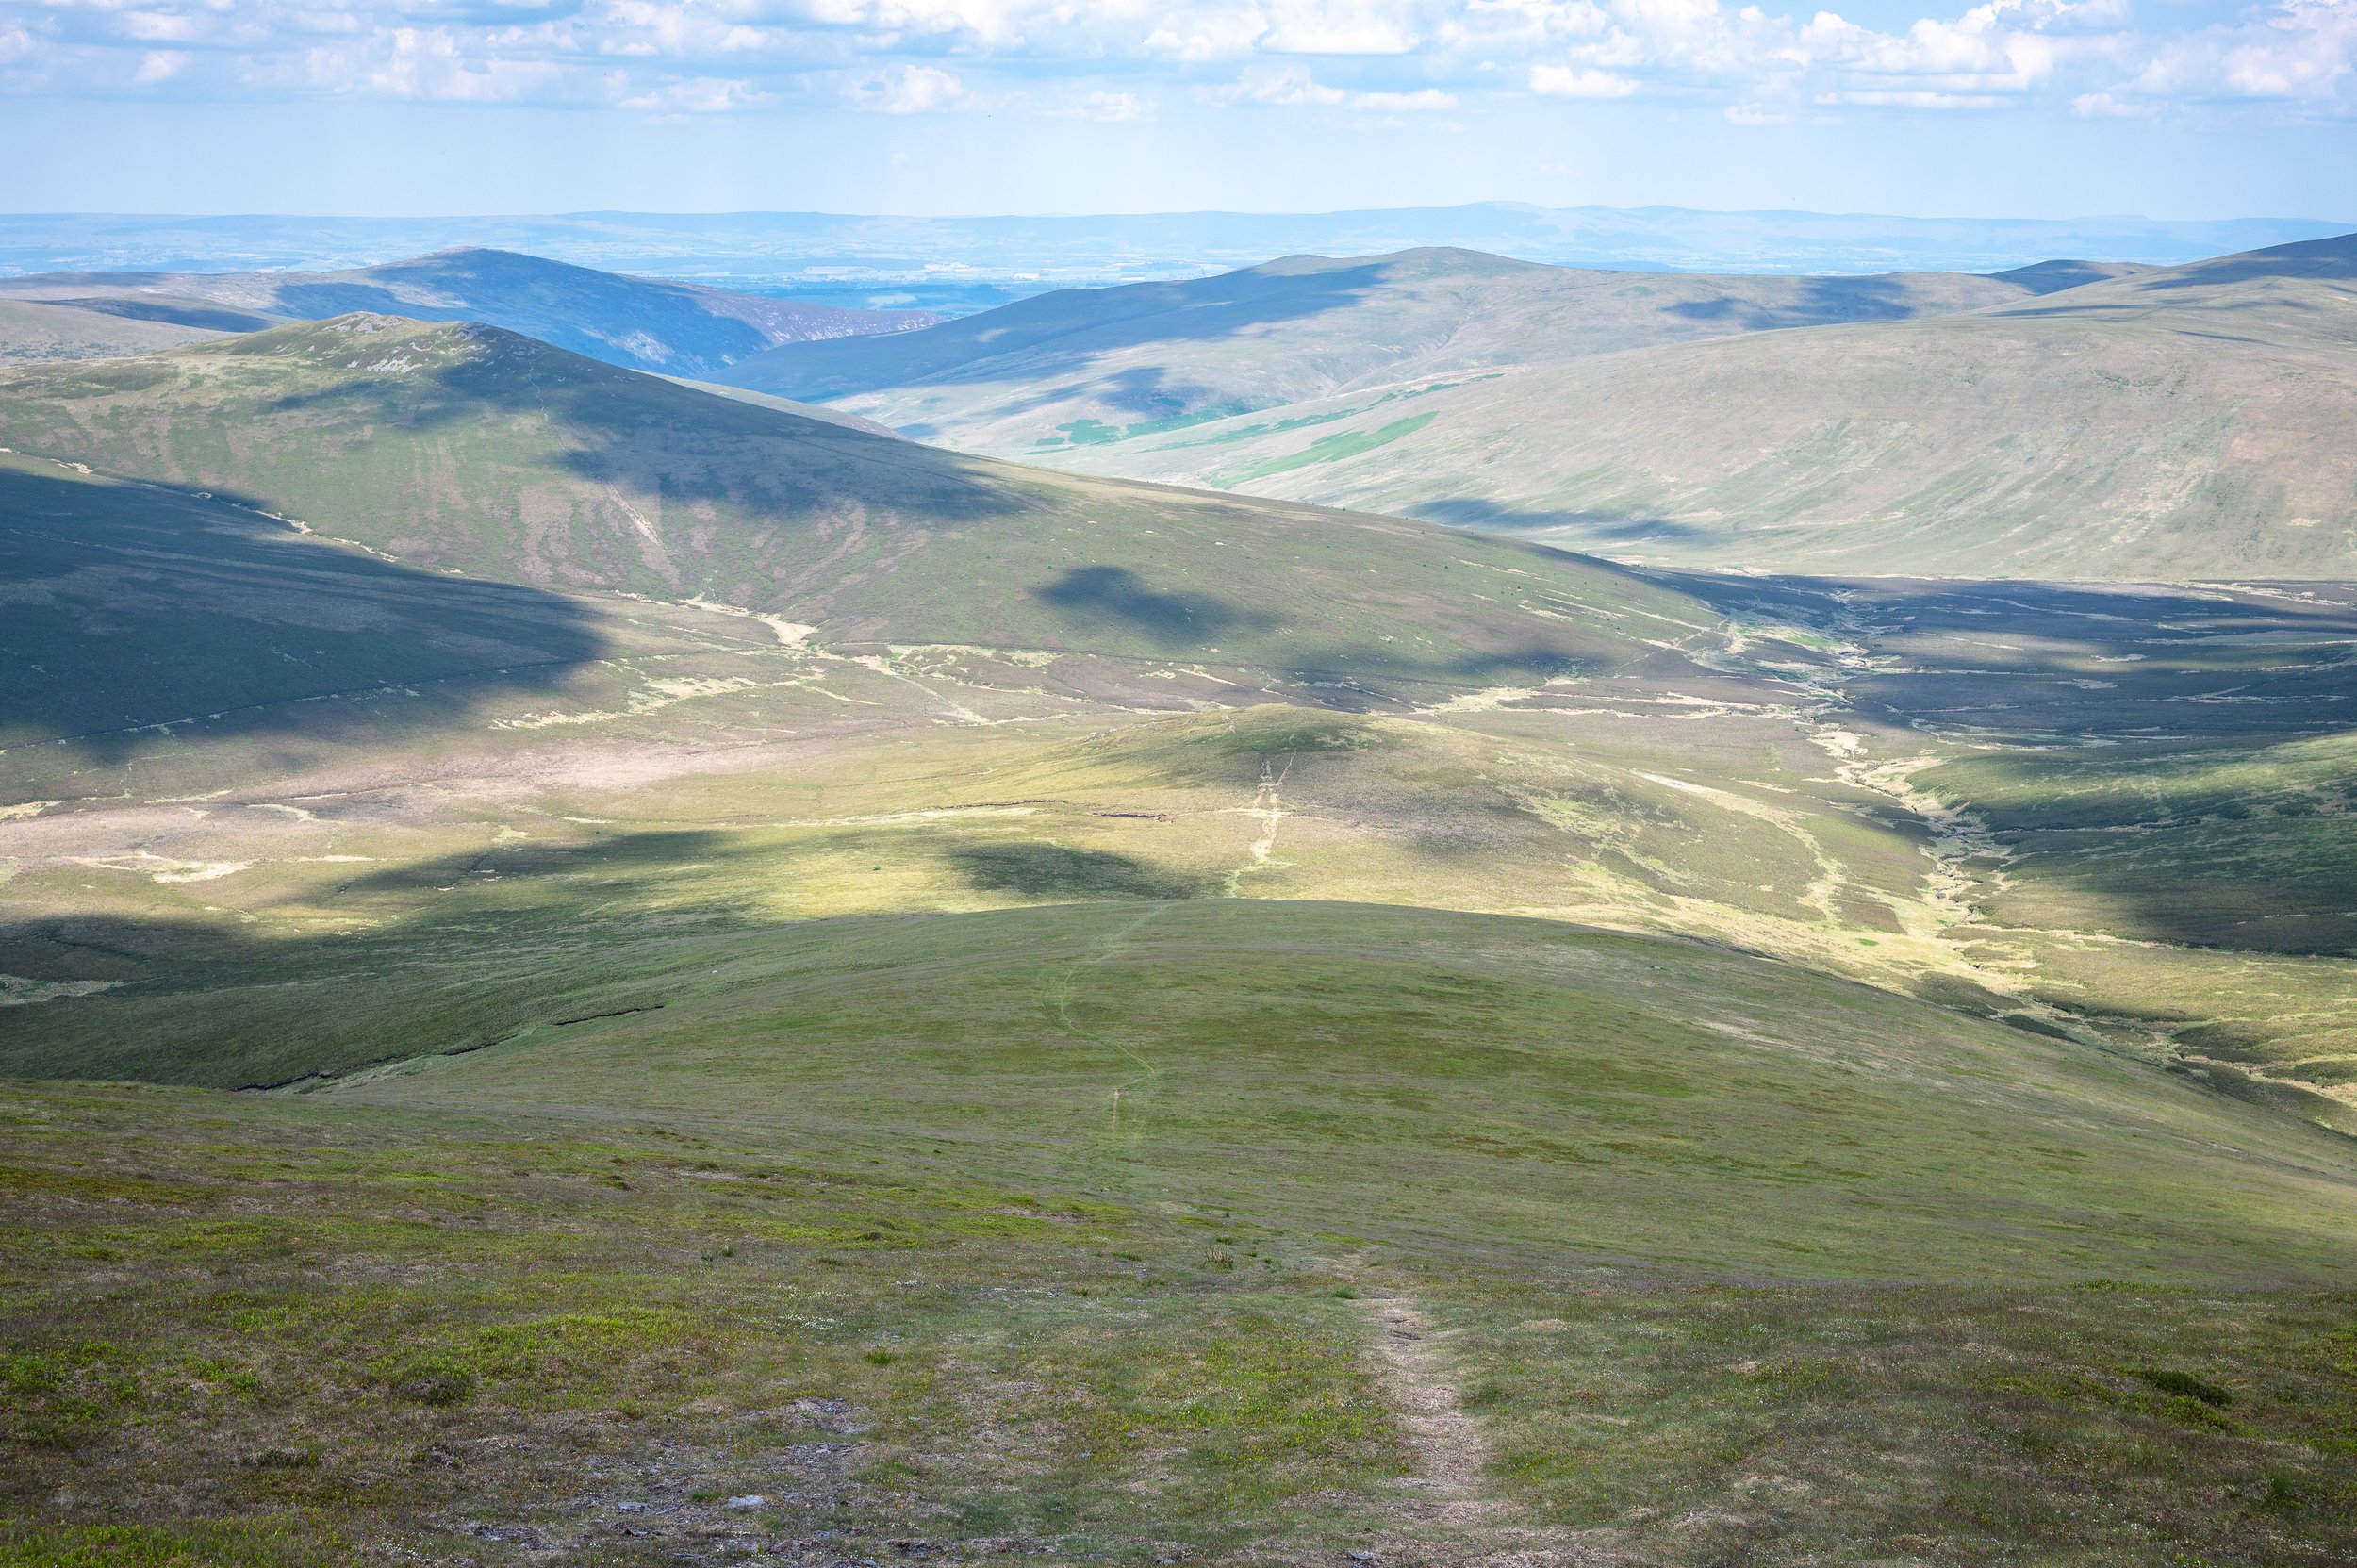
The approach to my least favourite fell in the Lake District: Great Calva. It looks nice, but it’s all lies (June, 2023).
Overview: Getting Skiddaw ticked off is a great feeling. It’s a tough slog up the path, especially the early section, but now you’re past the summit and looking eastwards, you can see your next target, Great Calva. A cone shaped modest summit that lies on the other side of the Cumbria Way, a path you’ll cross on the way up to your next target.
Now there’s no easy way to say this, but Great Calva is probably my least favourite fell on the whole BGR. In the summer months it is overgrown with heather which can easily slow your progress and I alway end up coming back home with plenty of insect bites. In the winter the approach is pretty boggy, almost swamp-like, but there’s little else to do other than simply pushing on. Still, it’s a small fell and you should be up and down here in no time at all.
In terms of navigation, and as you’ll in the images below, there’s really no problems at all. The one mishap that might befall you is the crossing point with the Cumbria Way where novice runners might unwittingly end up on this path for some time. To be clear, you simply want to cross the Cumbria Way, not head along it, as the map shows.
The one redeeming feature of Great Calva is its quiet nature. Very few hikers head up here so you’ll be free of the summer crowds and be able to run without any human obstacles to navigate. That lack of popularity however, tells you something about the fell: if I were writing a proper Trip Advisor review of Great Calva it would probably be called, ‘I did this one so you don’t have to.’ Still, it’s pretty nice to get this one out of the way so early on in the round. Enjoy!


End of Leg One, Section Three | Summits Gained = 2/42 (at least Great Calva is out of the way)
Leg One - Section Four
Great Calva to Blencathra
Summits Gained: Blencathra

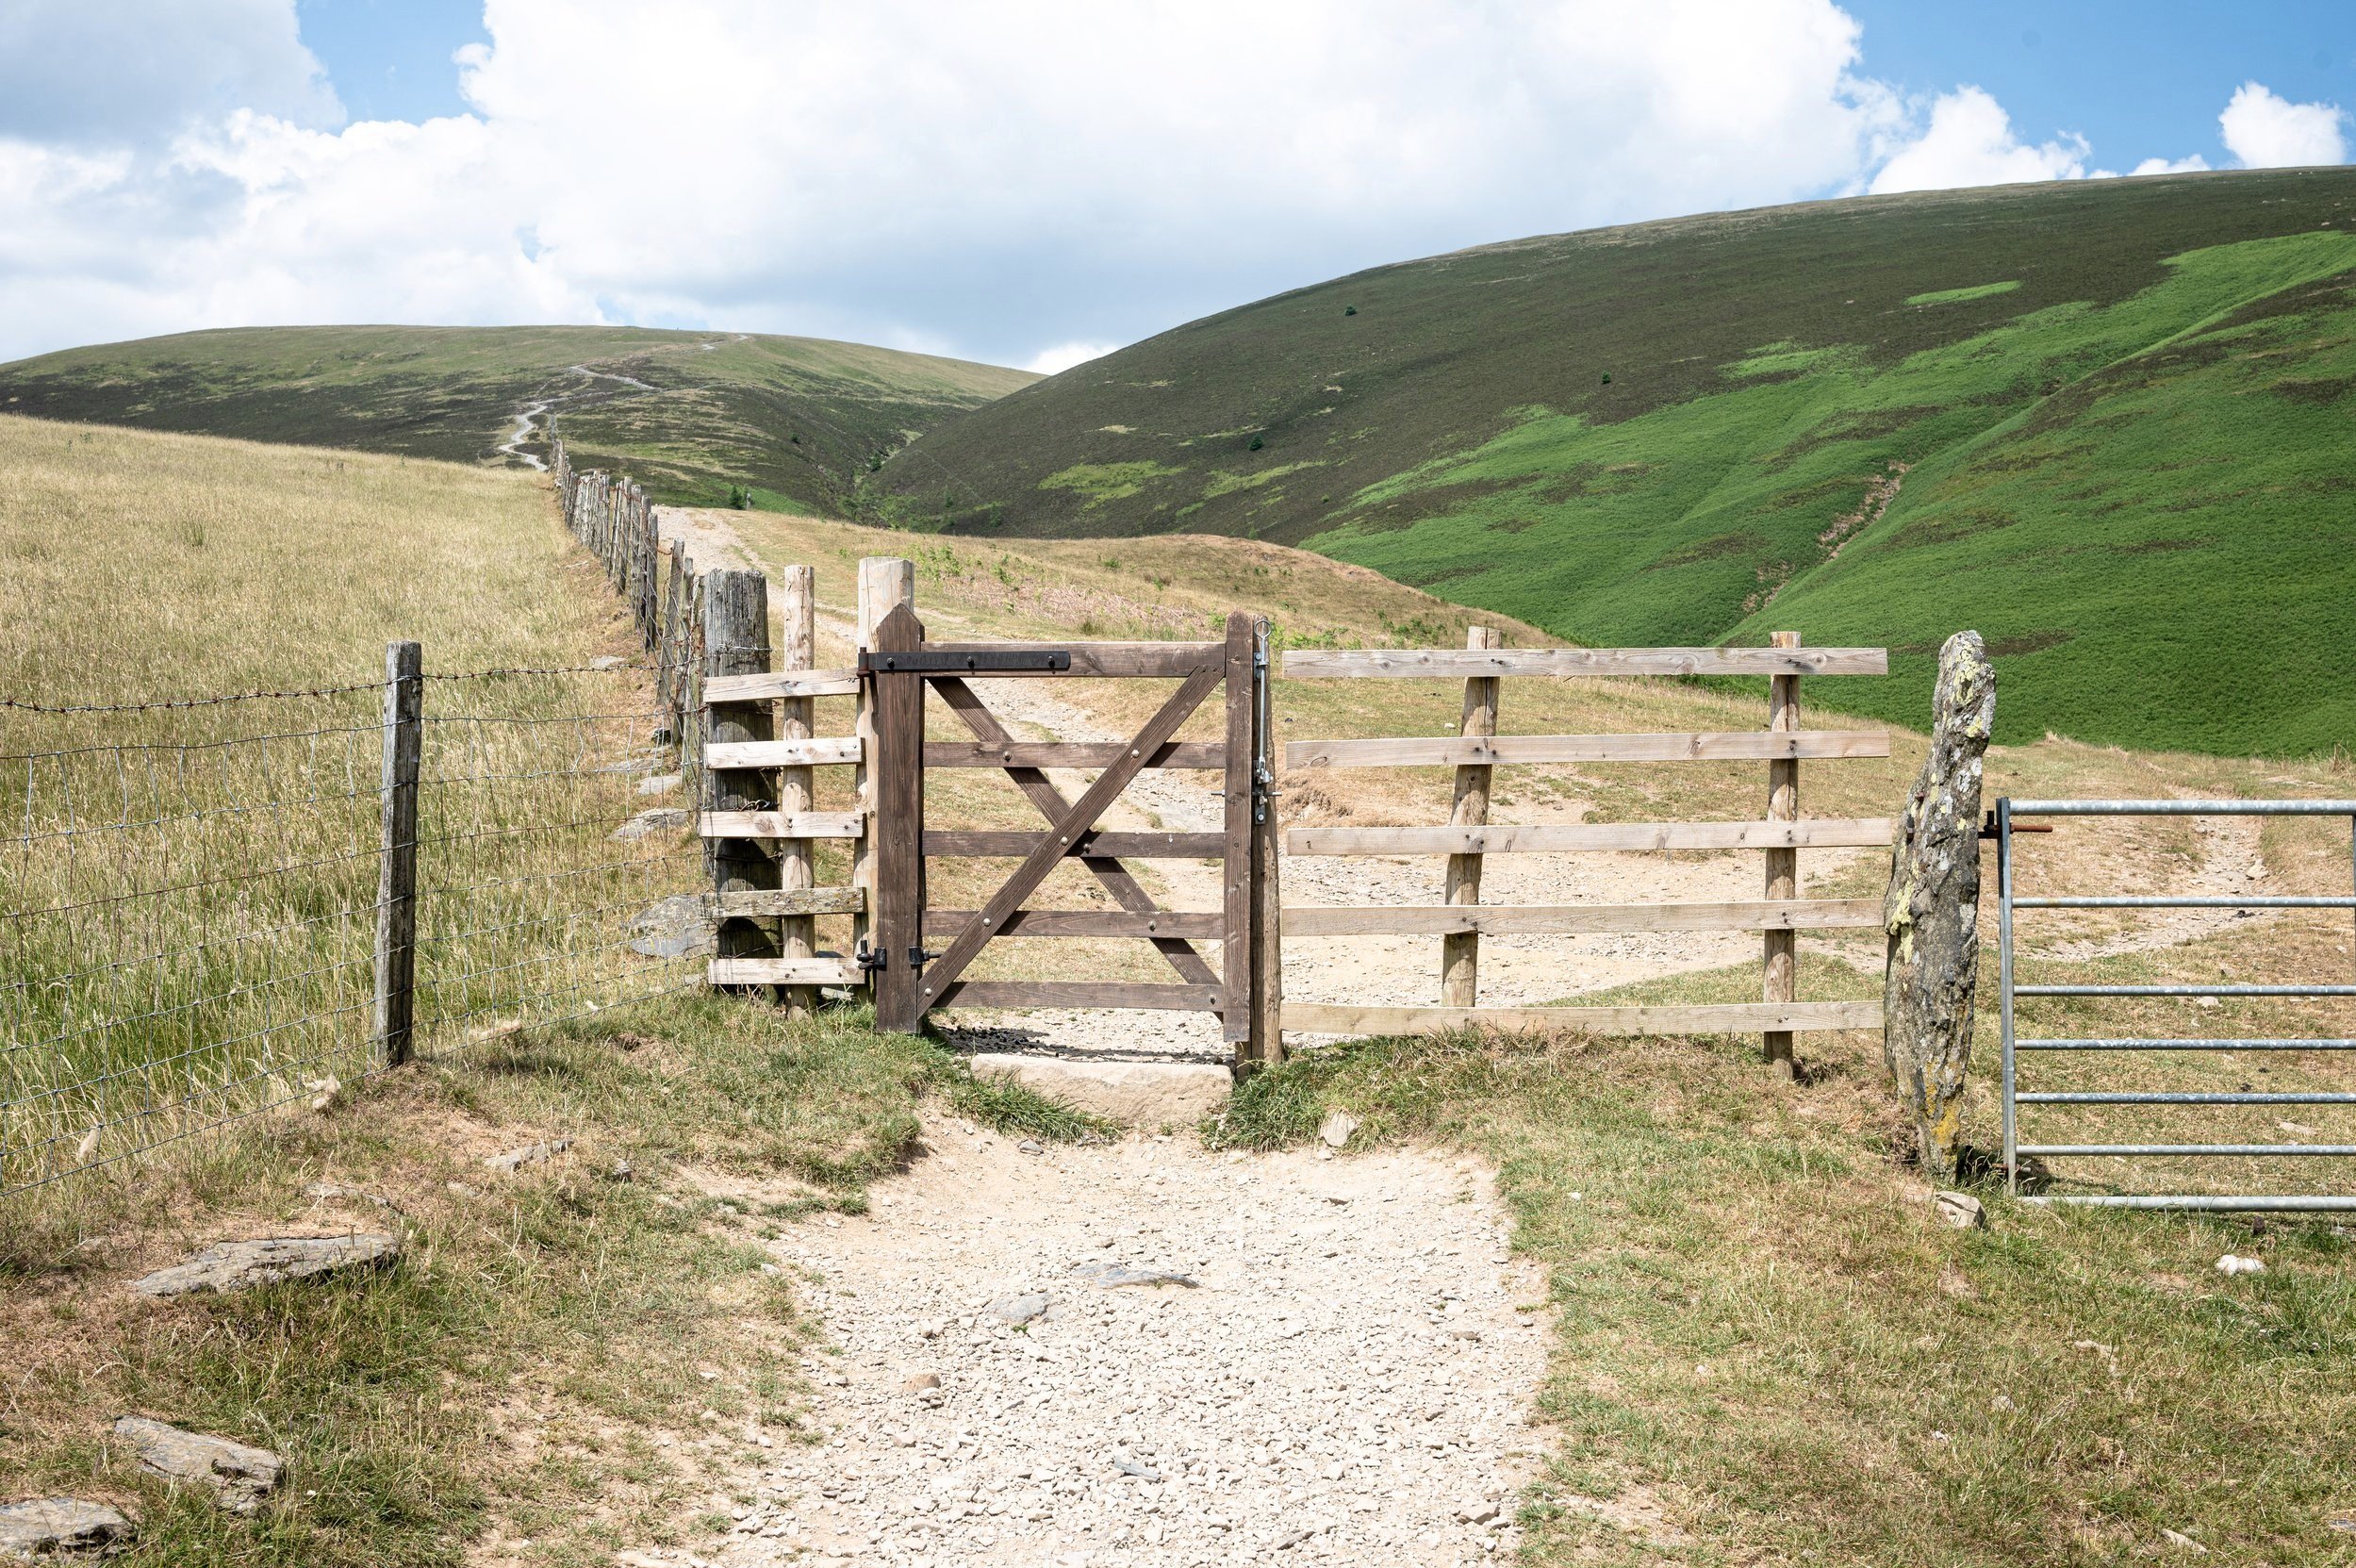
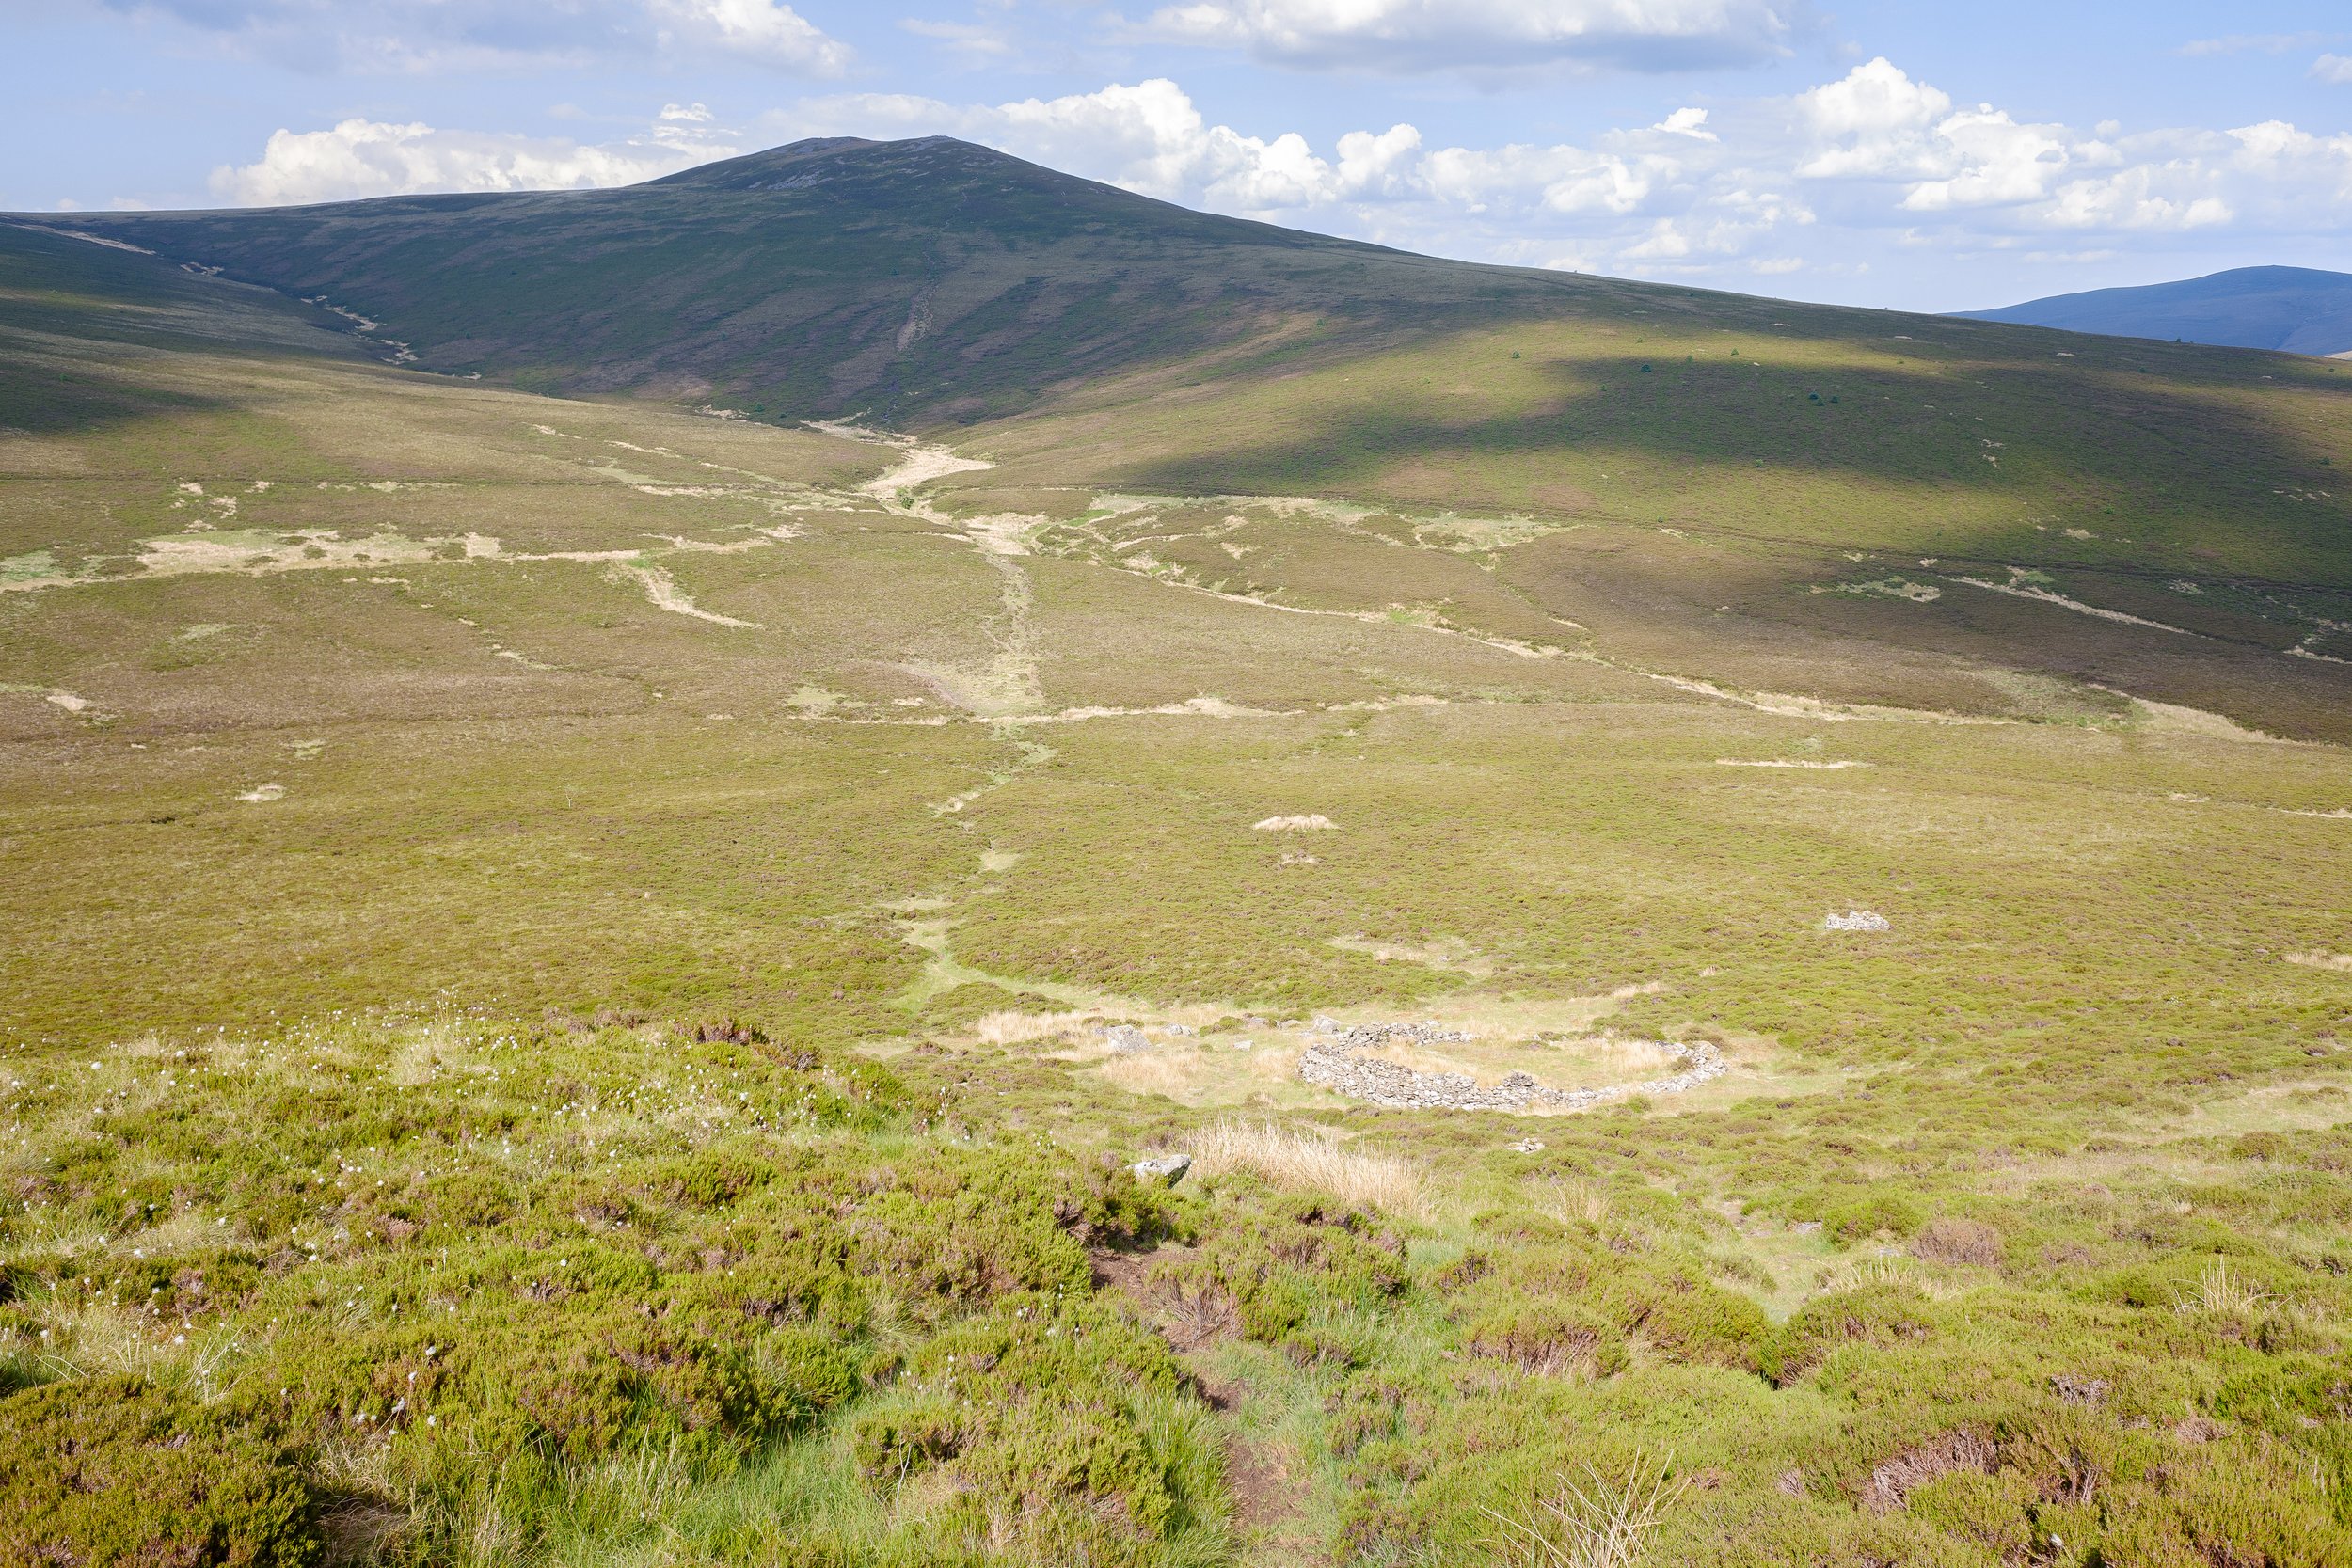
A vital section of section four, the old gate at the base of Great Calva which marks the turn southwards to the River Caldew, Mungrisdale Common, and Atkinson Pike on Blencathra (which you can see just jutting out at the top of the image (June, 2023).

Overview: What a great feeling: Great Calva is done and dusted, and you never have to come back to this fell again! It’s the most northerly point on the BGR and you are free to escape its summit crags and head down to the River Caldew, up to Mungrisdale Common, and to the majestic fell that is Blencathra. That said, this section of Leg One is a bit of a slog, especially the section that comes up from the river crossing, and to Atkinson Pike on the north of Blencathra as this is a long, unrelenting incline that will zap your energy as you go.
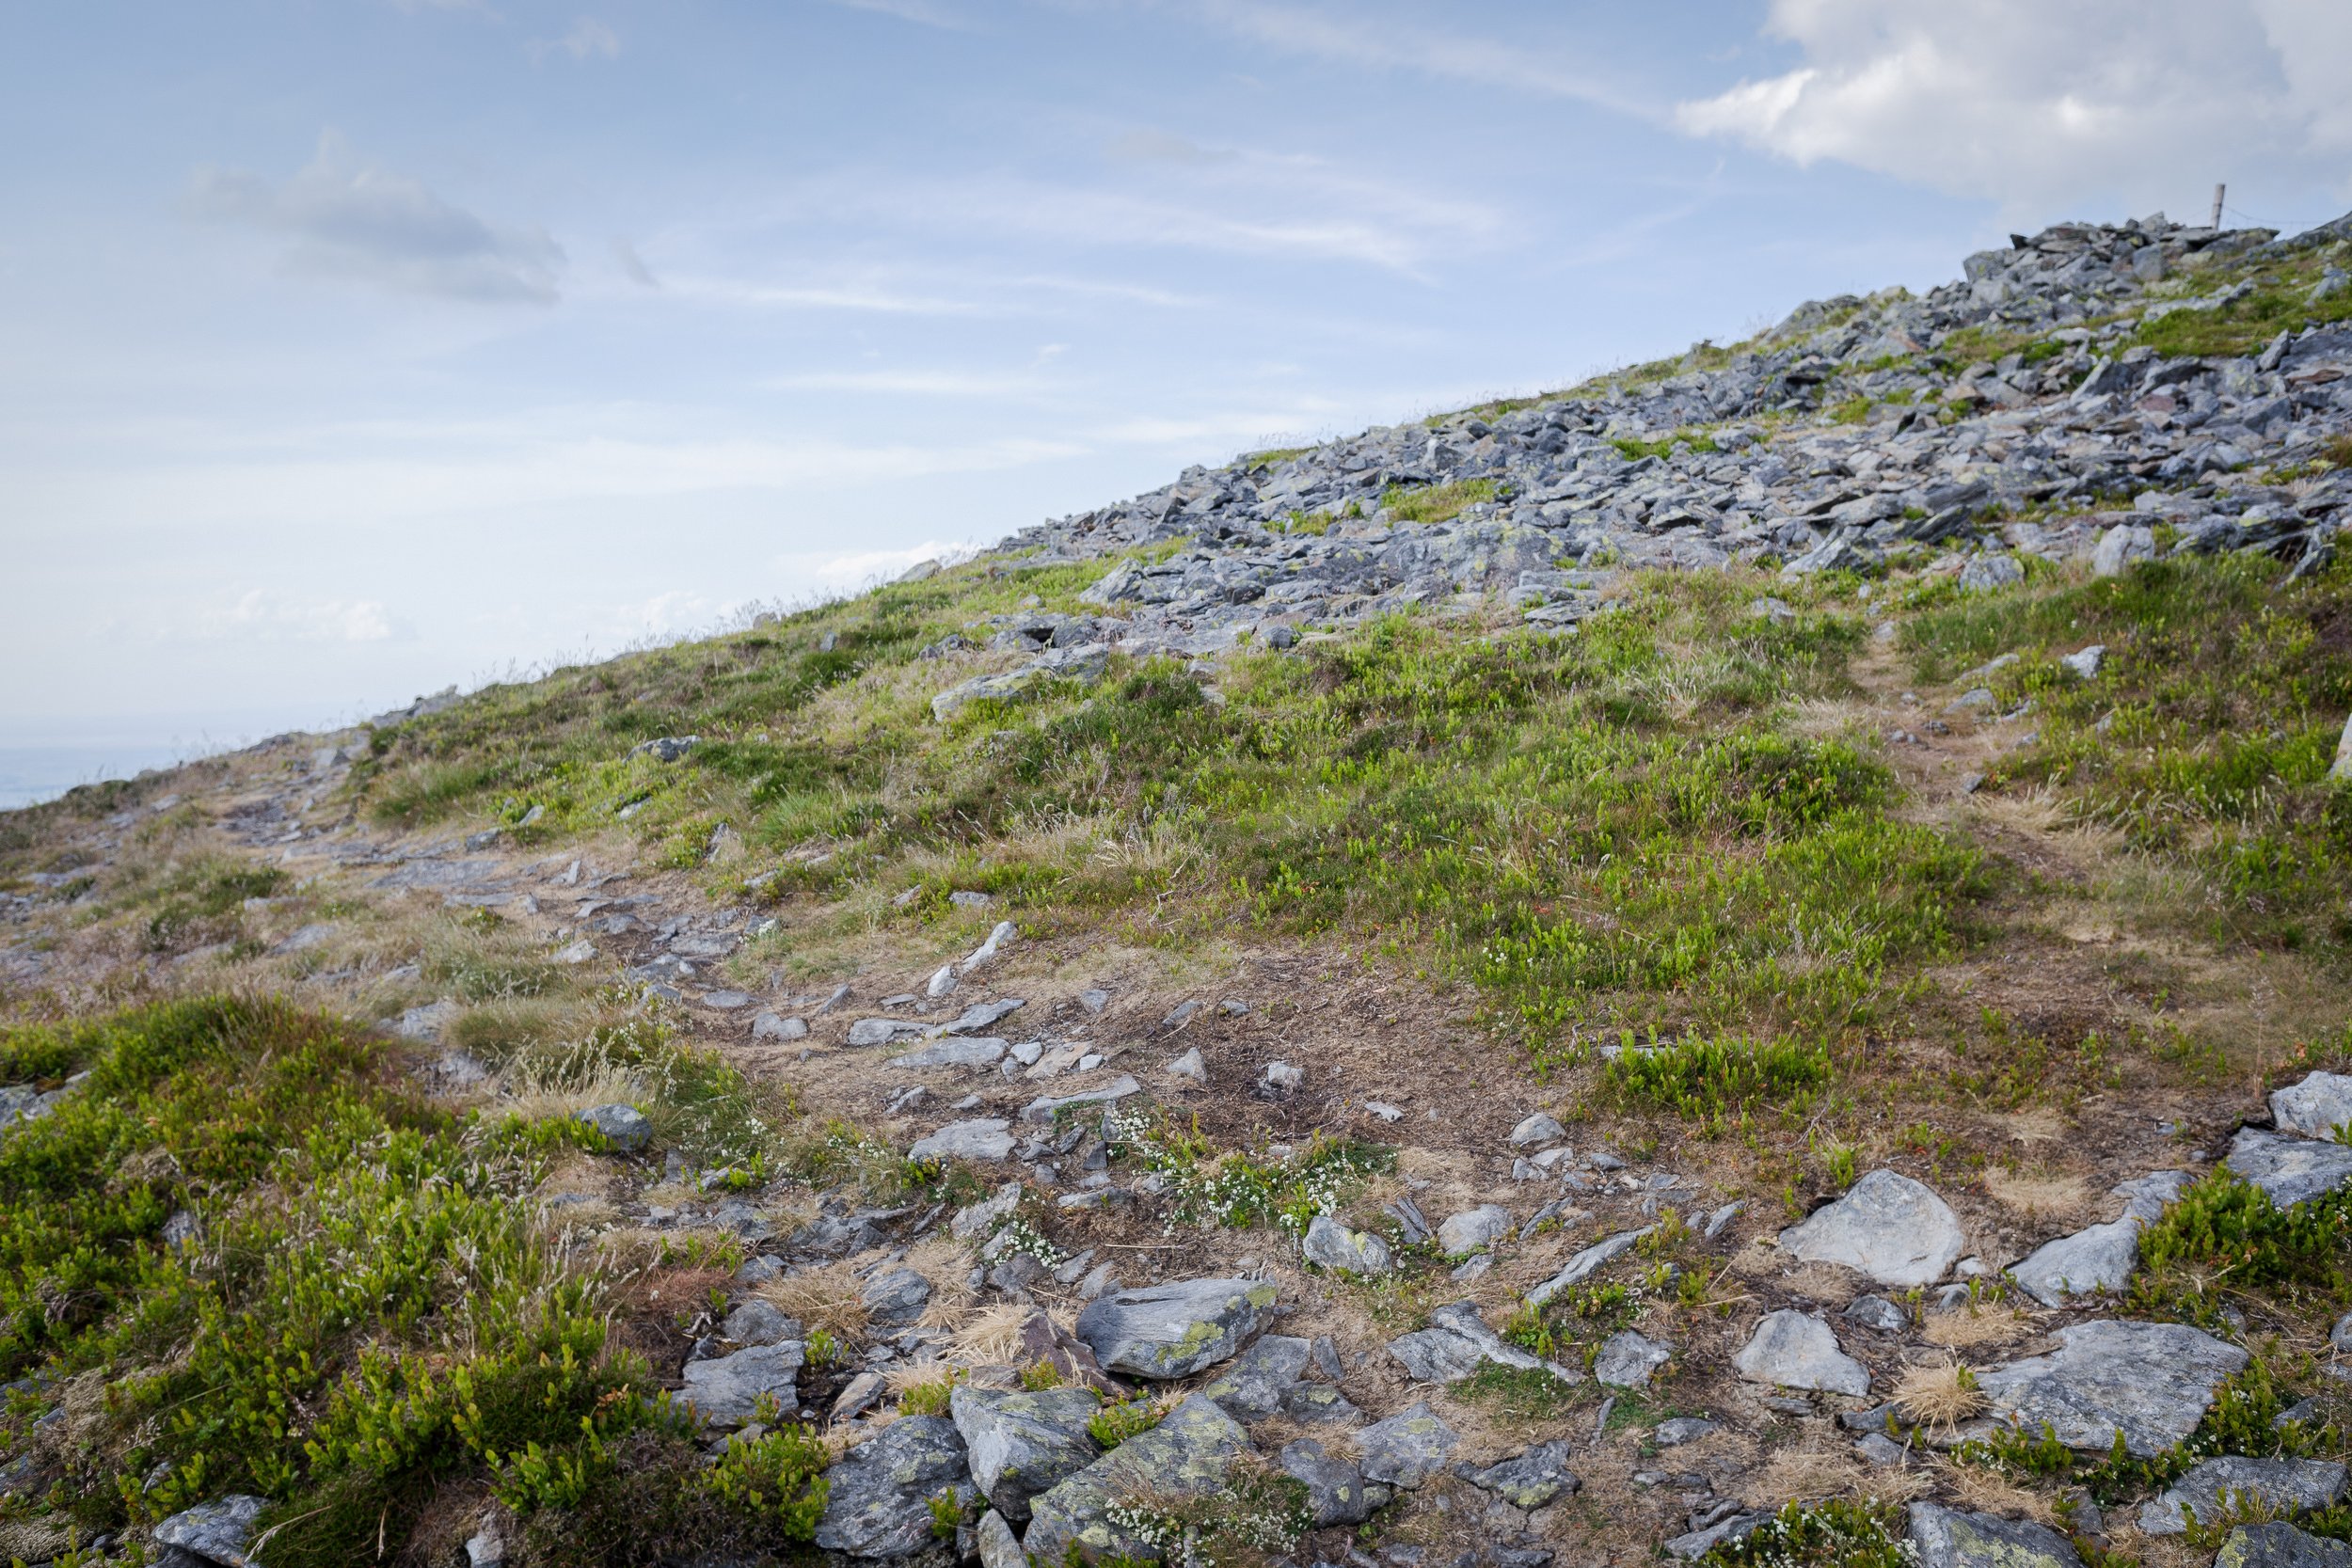
Once you are on the summit of Great Calva, you’ll need to turn back on yourself, heading south, along the fence posts. As these turn sharply to the left (east) the line I prefer to take is to climb over the fence and head down the clear track that keeps the fence on your right hand side (see images four and five below). This is an easy and clear route and there’s little change of getting lost here. Once at the bottom of the incline an old gate hangs there which you’ll need to go through, following the path through the heather until you reach the classic hiking track that is the Cumbria Way.
At this point, and while the path looks lovely, it’s not for you! Cut directly across this, keeping the small bridge to your left and the sheepfold to your right (see images nine and ten). A small track takes you all the way to the River Caldew which you need to cross by any means, then you enter the long slog up Mungrisdale Common. There is nothing difficult here. Just a long incline that pretty much goes on until close to the end of the Section Four. There’s no need to visit the ‘summit’ of Mungrisdale Common as it isn’t an official BGR fell top, so just push on past this and head up Foule Crag, onto Atkinson Pike, and then finish up on Blencathra’s fine summit, which is sometimes called Halls Fell Top.
For me, this is the toughest section on Leg One but once completed the next section is simply a fun and easy scramble down Halls Fell, which is one of the finest ridge lines in the entirety of the Lake District.


End of Leg One, Section Four | Summits Gained = 3/42 (all three from Leg One are now complete)
Leg One - Section Five
Blencathra to Threlkeld via Halls Fell Ridge
Summits Gained: None
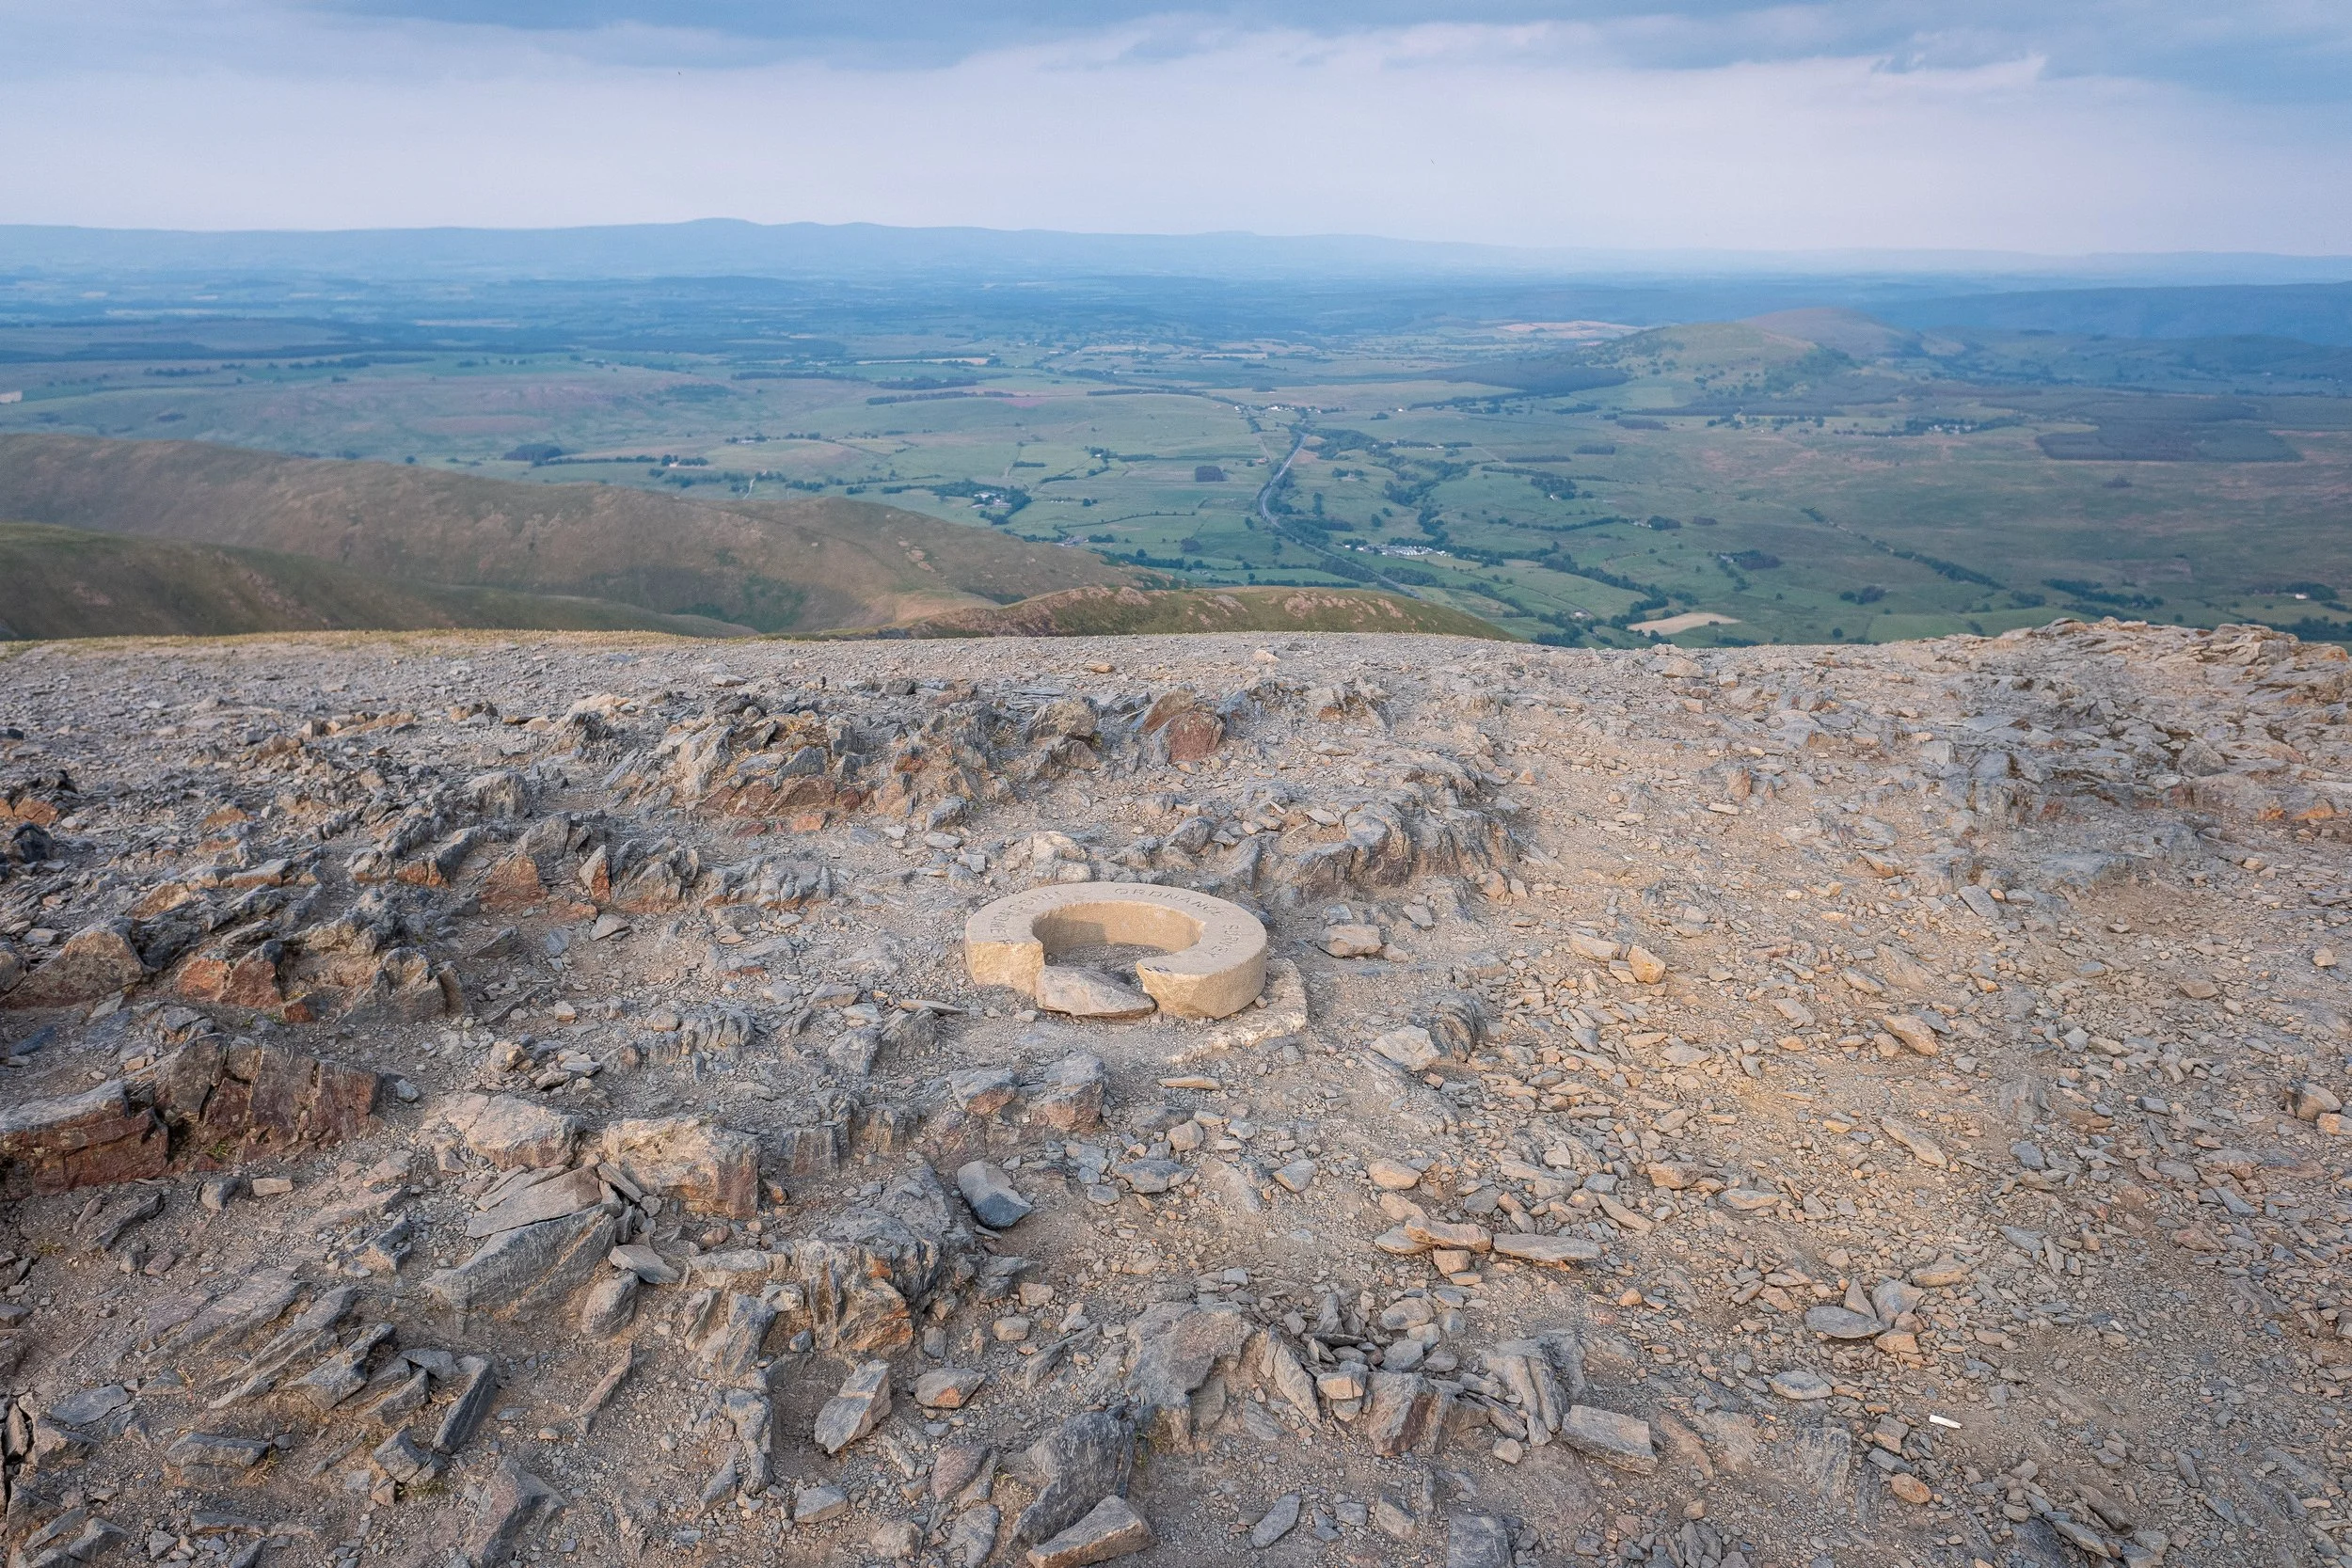
A wide-angle view of Blencathra’s ridge lines that jut down towards Threlkeld below. The three ridges seen here are Gategill Fell (left), Halls Fell (centre), and Doddick Fell (right). You can ignore Gategill Fell as it doesn’t concern us here as almost all runners on the BGR head down Halls Fell. However, in bad weather (high winds, rain, snow) Doddick Fell is an alternative route that you might want to keep in mind (even if you don’t need to use it). As I note down below, the ‘Doddick Alternative’ is safer, with less scrambling, but a little longer. Your finishing point for Leg One can also be seen here, the car park at Threlkeld Cricket Club. The large green circle in the centre-left foreground is your sanctuary (April, 2023).
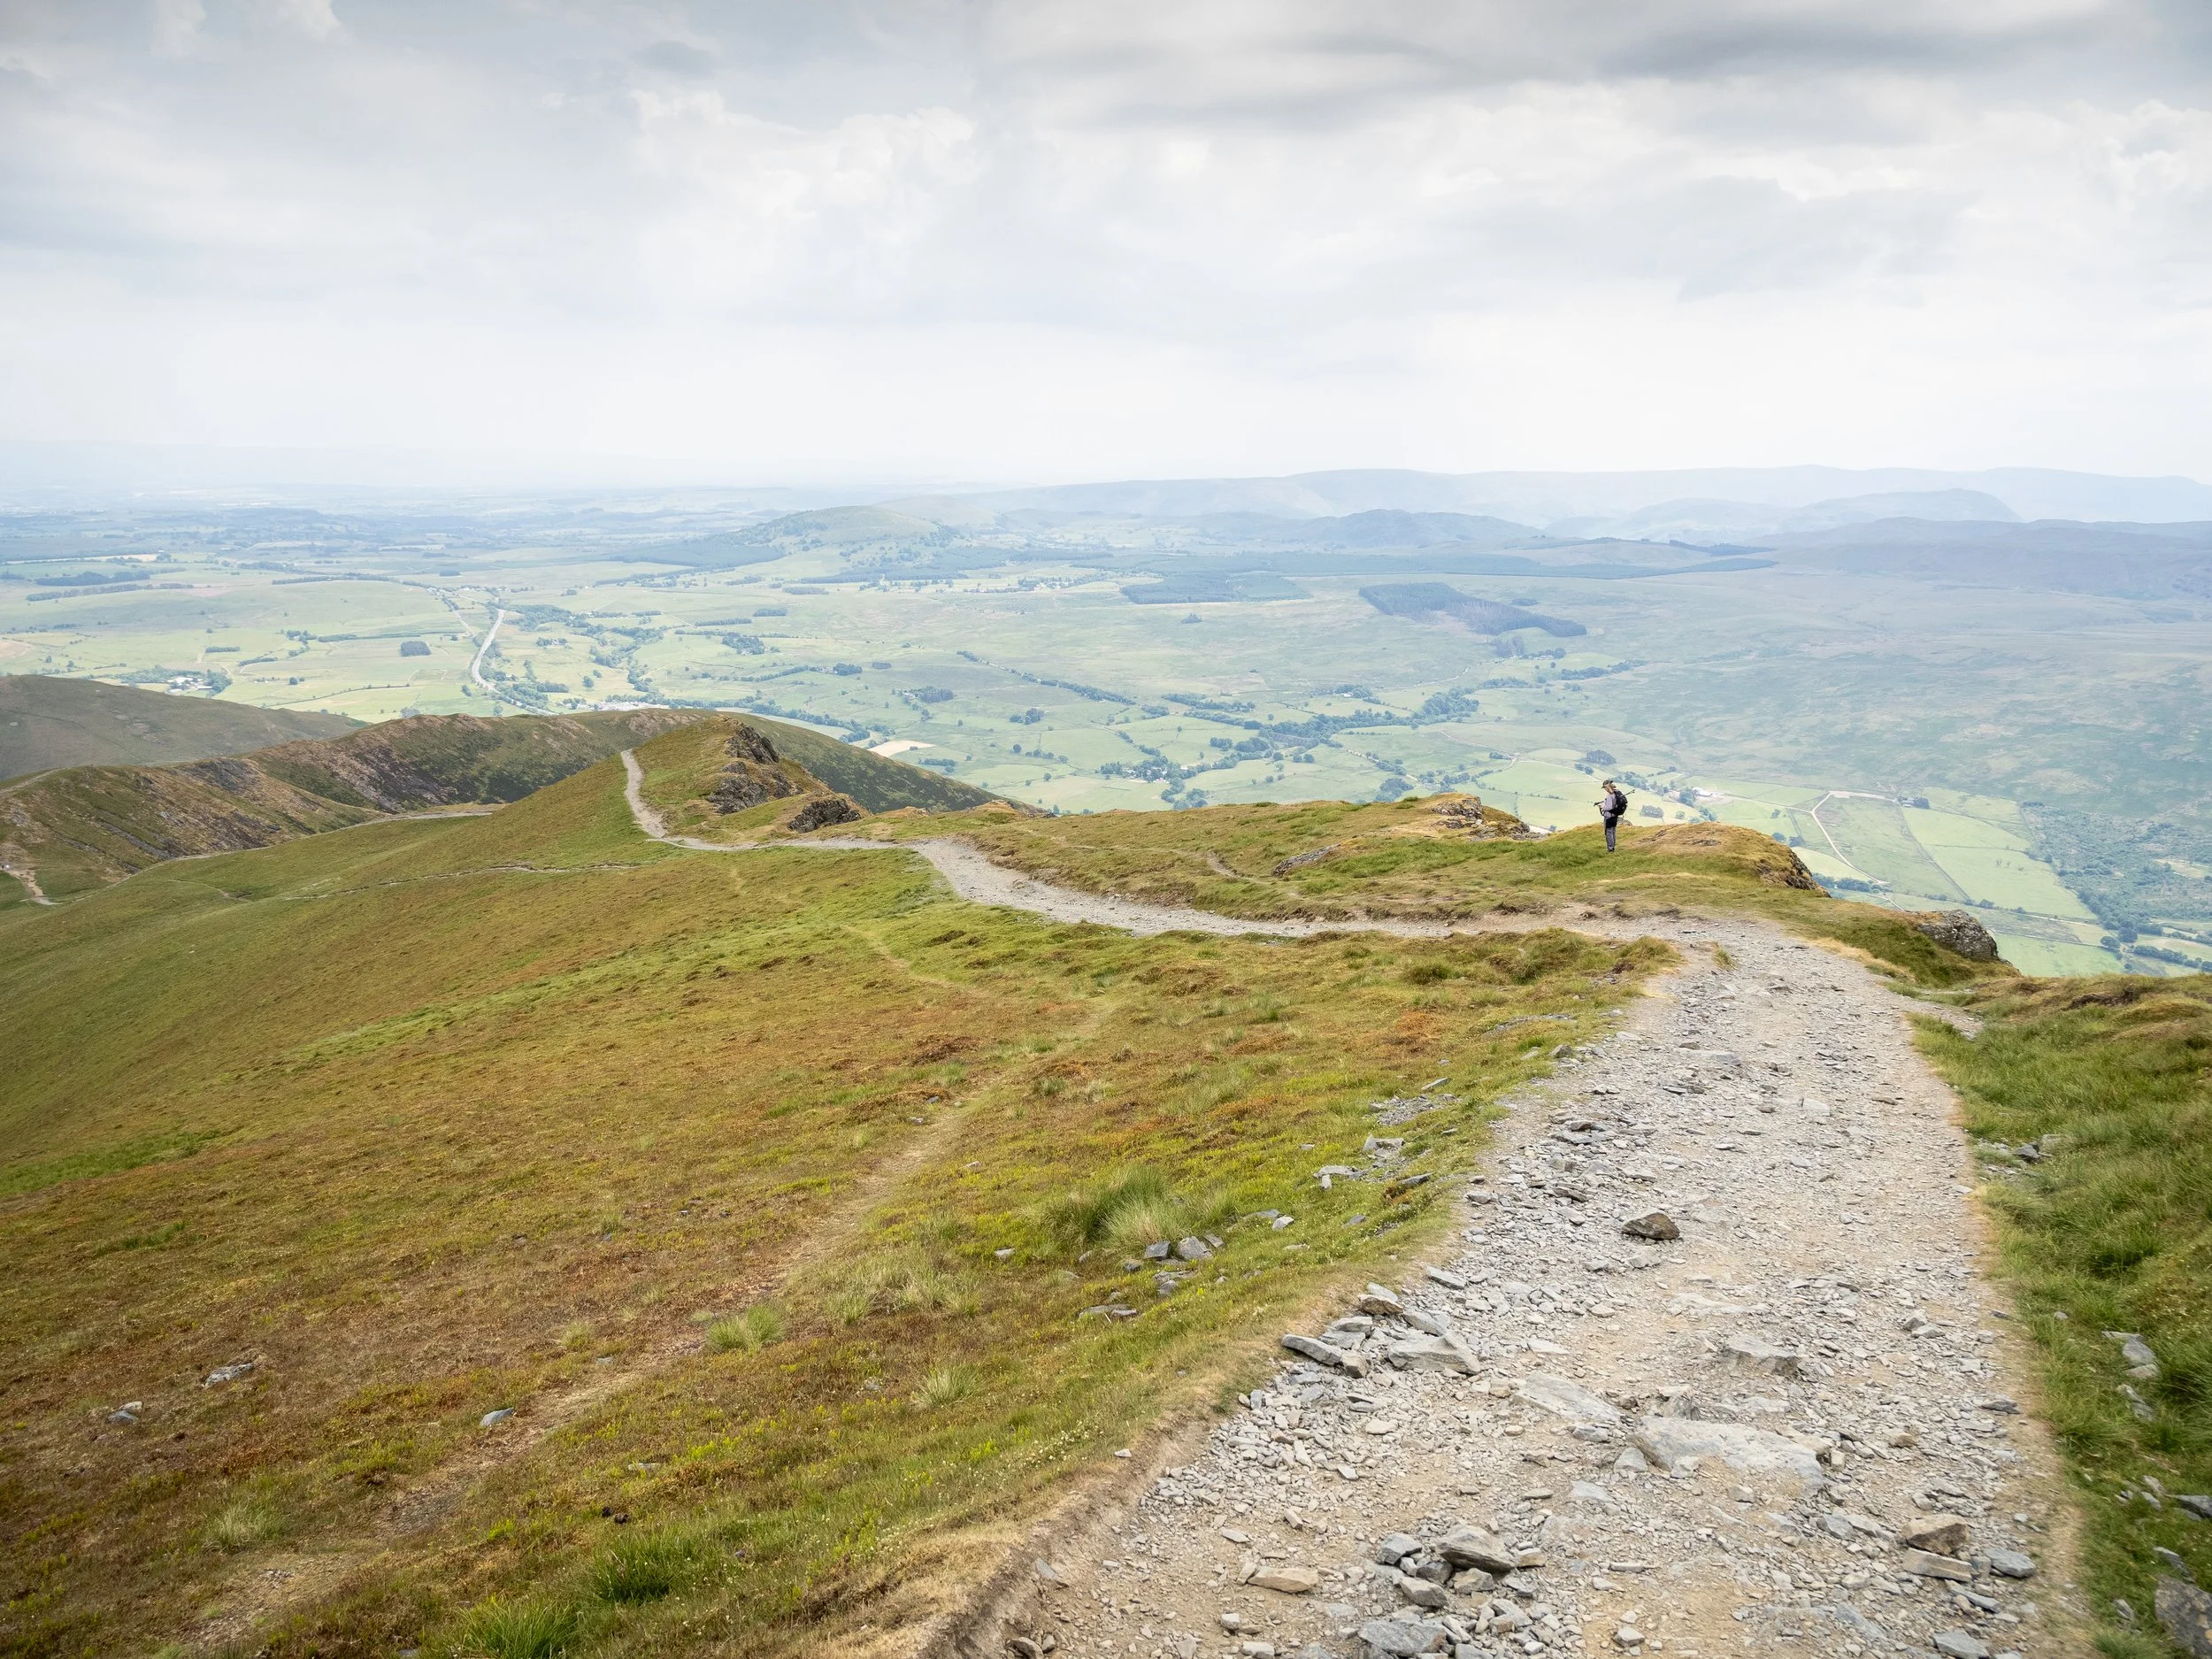
Overview: while you’ve not made it just yet, you can see the end point of Leg One from the summit of Blencathra. All that stands in your way is the rather fearsome looking ridge line of Halls Fell that drops down from the summit of Blencathra, plunging you down the southern face of the fell over some gnarly-looking crags and rocks, to the village of Threlkeld below. In truth, it looks far worse than it actually is. Go steady and you’ll be just fine, although in rain or snow things become a bit tougher. The hardest section of Halls Fell is the first part, after which things become much easier. Hence after 20 minutes of scrambling down you’ll be able to open the engine up a little and make good progress.
In terms of technical ability, this is classed as a Grade One scramble, so it’s nothing too difficult. Navigation is also simple: you just keep following the ridgeline down until the path becomes clearer. Still, it seems like every time I head down this section of the BGR I end up taking a slightly different line through the crags. To be honest, it matters little as long as you keep relatively central and keep moving down the ridgeline.
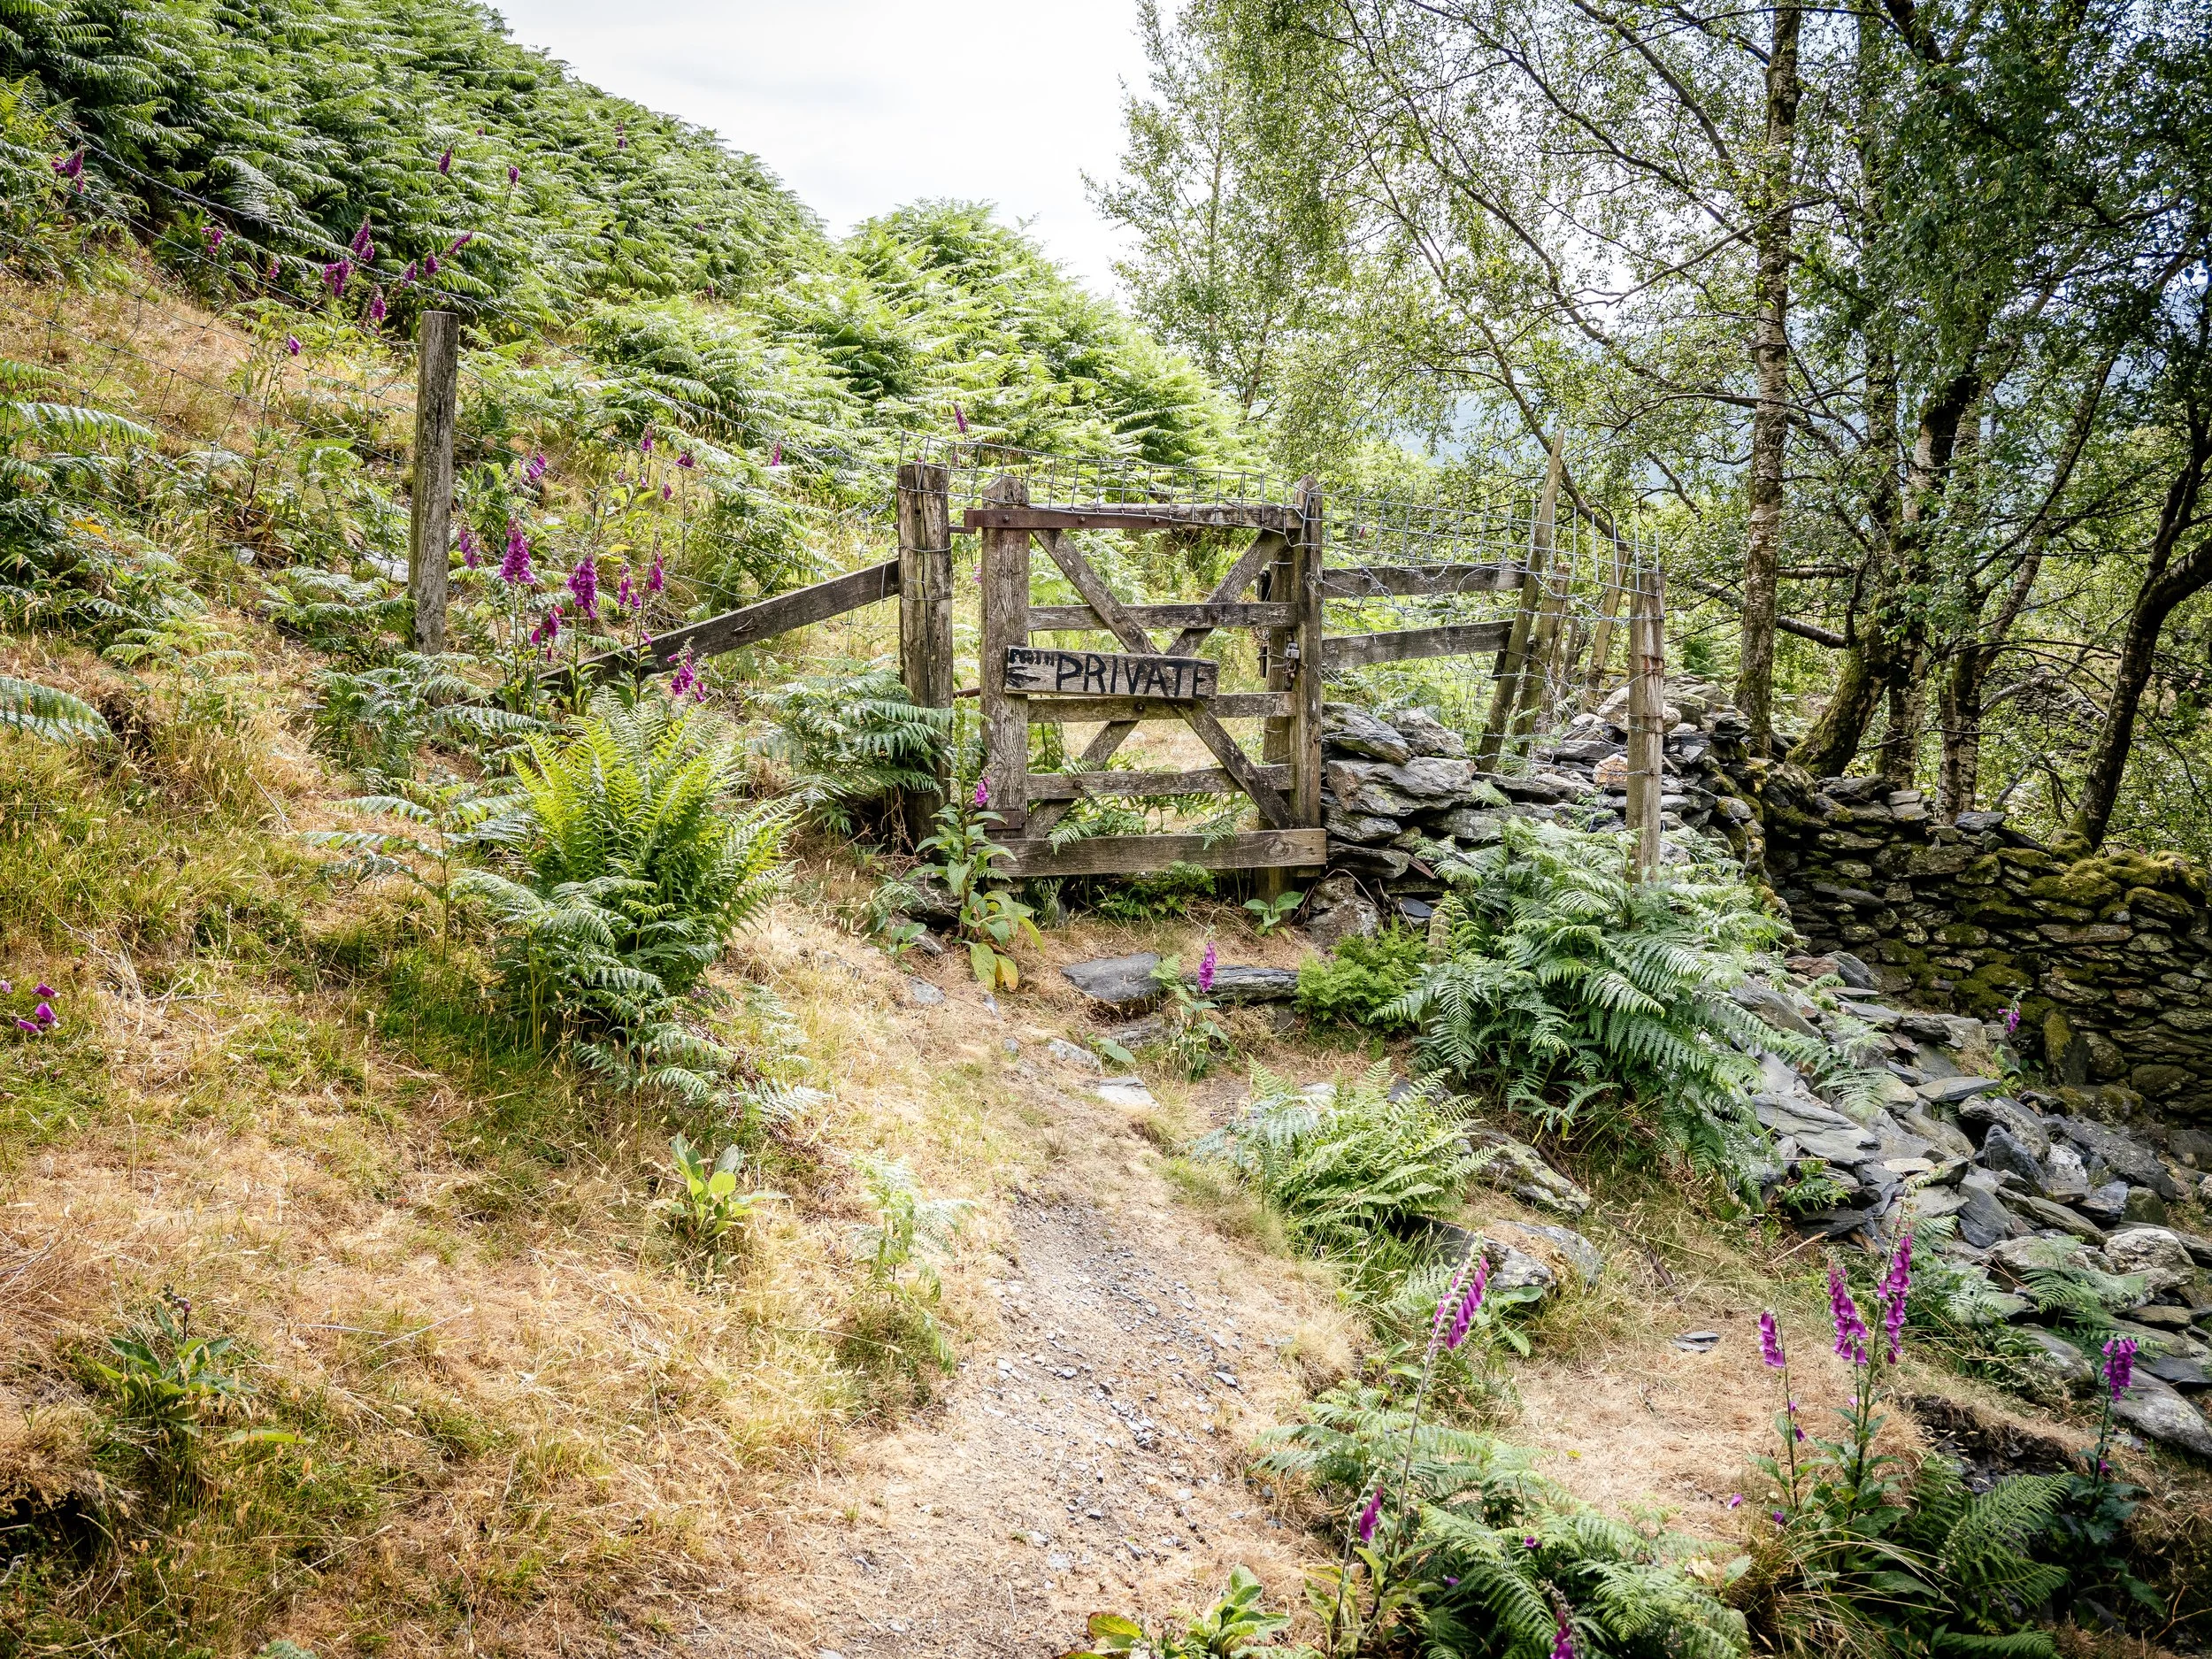
Once down from the ridge you’ll end up at a small beck (stream) with old mine works littered about. Here you do need to pay attention as you need to go in the right direction for Threlkeld, you’ll need to head through the right gate, and through a working farm (public access is granted, and the family there are really friendly. As are their dogs). Once into the village head through it, across the main road to the south (the A66), and to Threlkeld Cricket Club car park where, hopefully, your support team will be waiting for you.
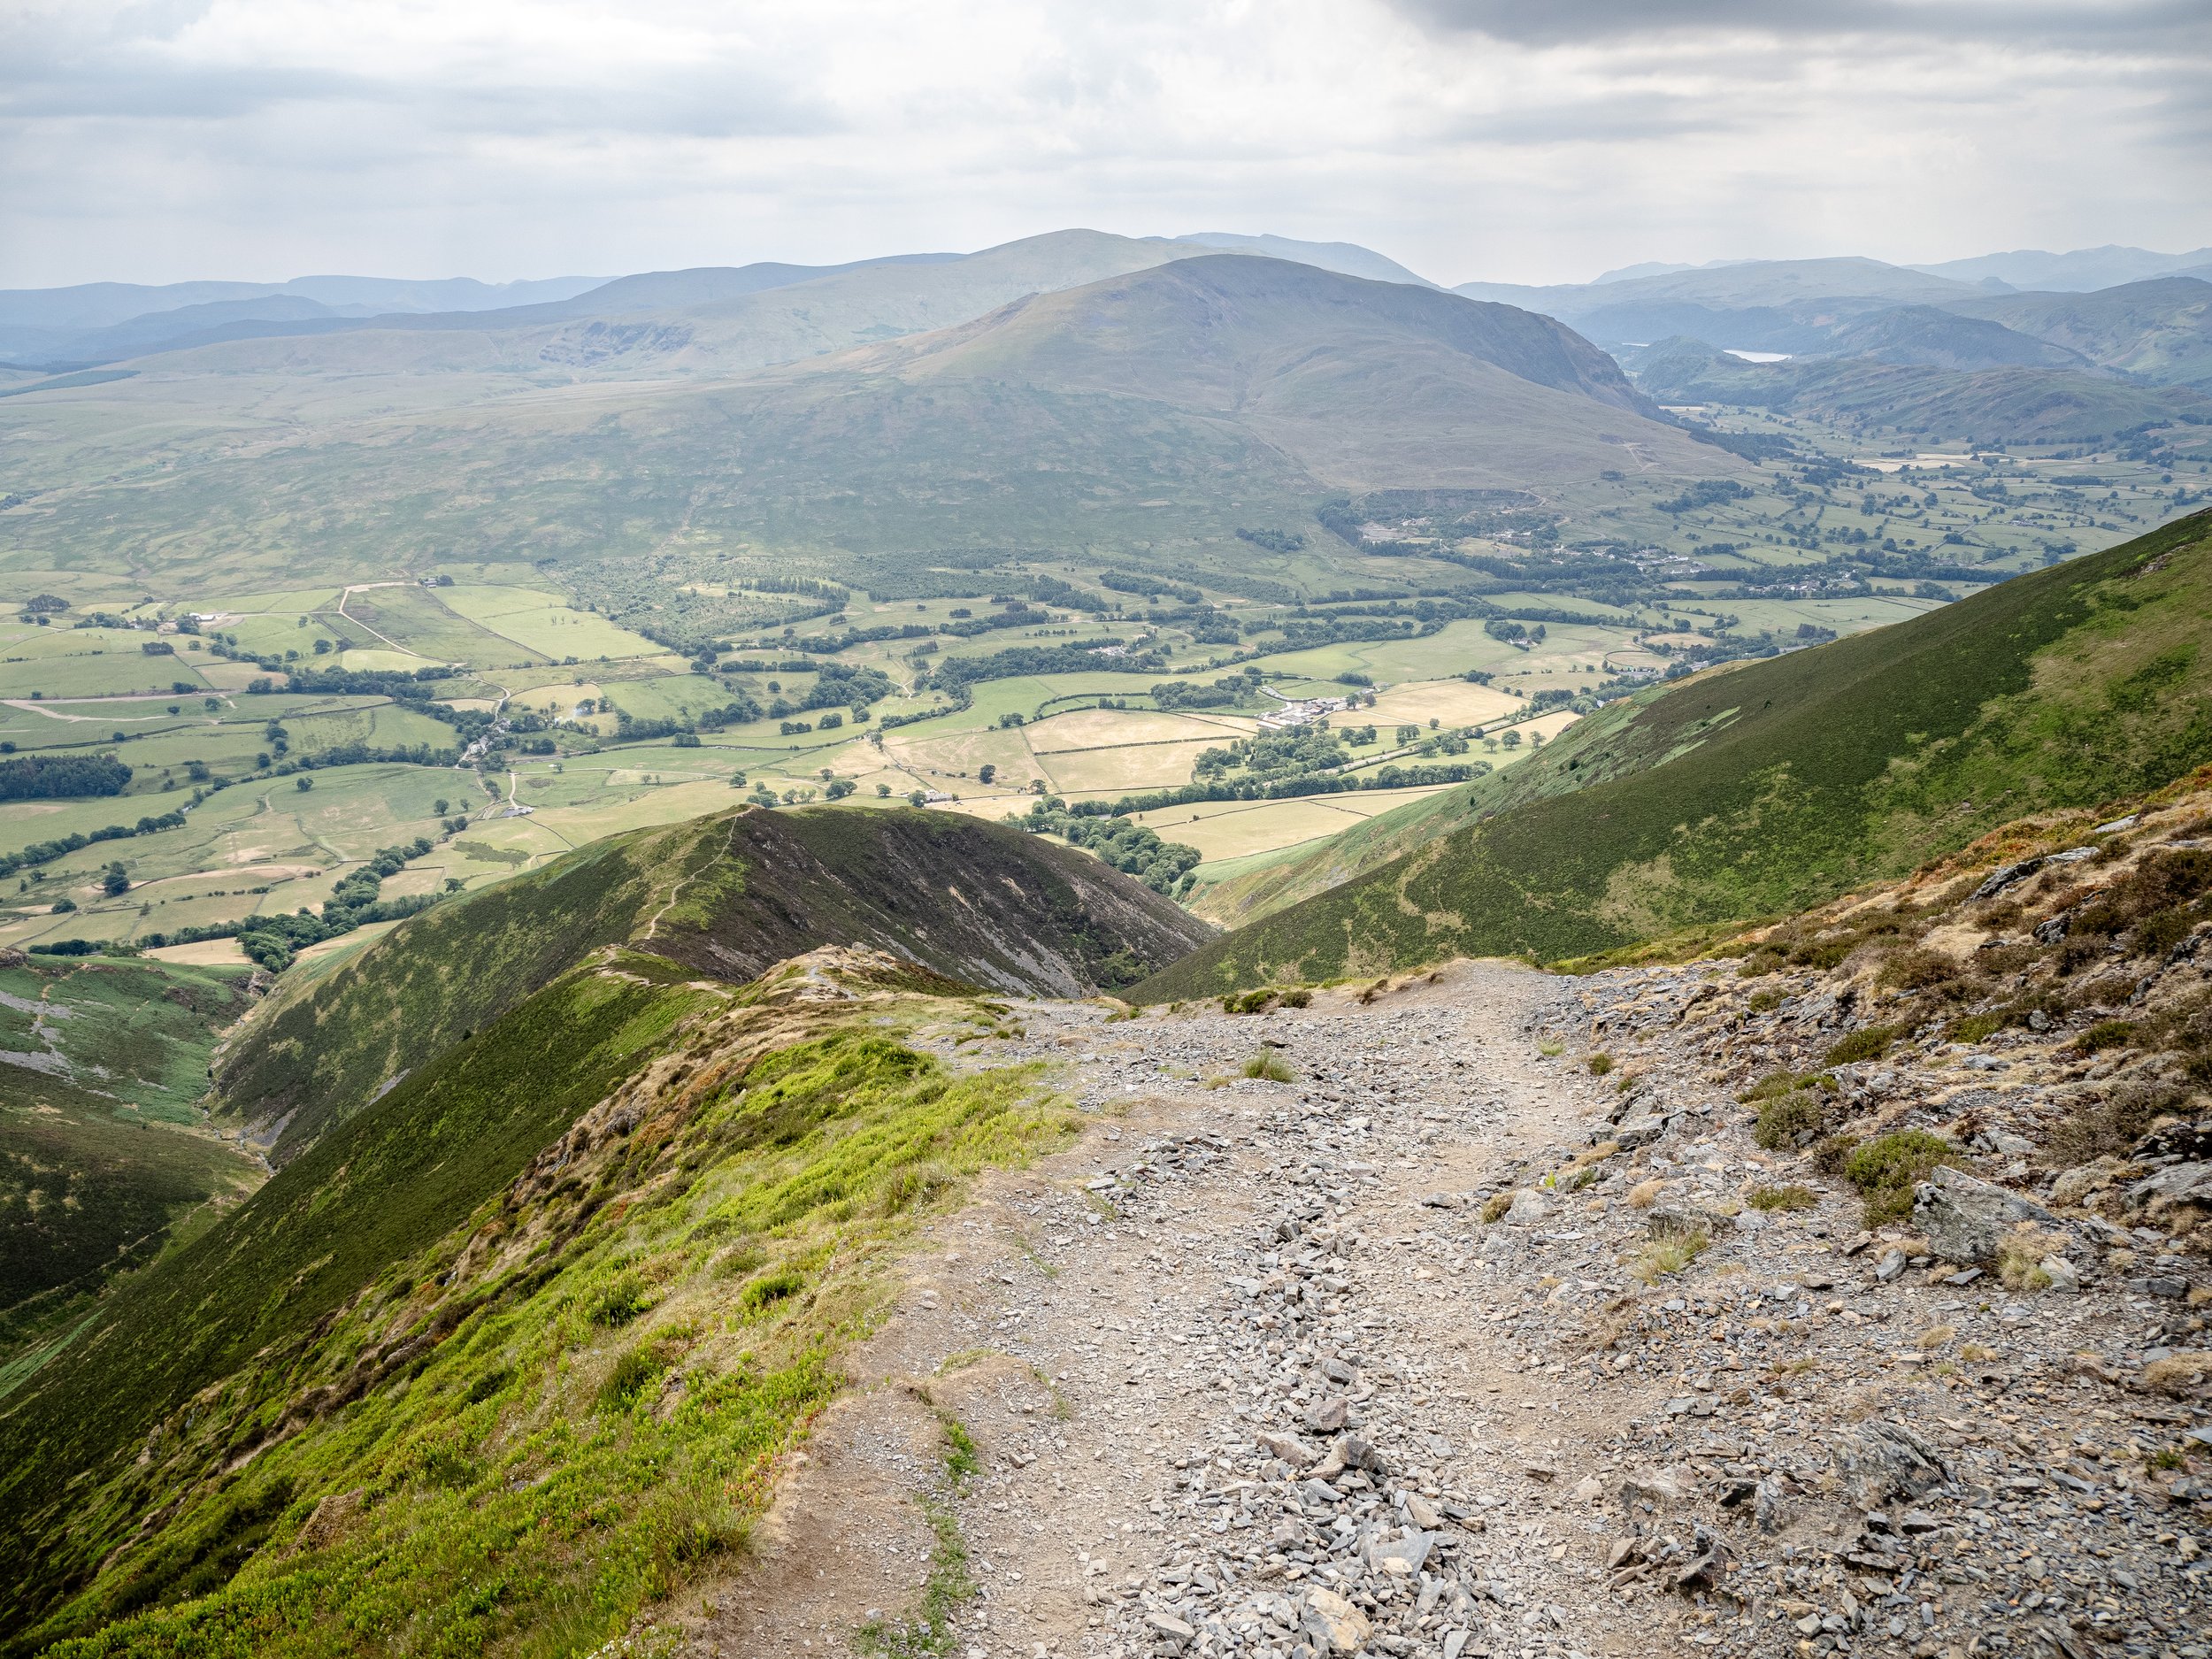
I simply love this section of the leg and if you’re hitting that wonderful ‘flow state’ all runners know, there’s no better feeling on the BGR than floating down this wonderful ridgeline. The only thing that might dampen your spirits is the wall-like feature of Clough Head that you’ll constantly see as you make your way down towards Threlkeld. Clough Head is your next target on Leg Two of the BGR.
NB: if Halls Fell Ridge isn’t to your liking there is an alternative route down Blencathra, Doddick Fell, which sits to the east. It’s much gentler with no scrambling, but it does add a little bit of time to your route. See below for this.


End of Leg One, Section Five | Summits Gained = 3/42 (Now your attention is fixed on Clough Head)
The Doddick Alternative (to Halls Fell on Section Five)
Blencathra to Threlkeld
The Doddick Alternative: there are a number of points on the BGR that have alternatives paths to take. Although there is an alternative way down Great Calva relative to the line I suggest above, the Halls Fell-Doddick Fell question is more important to stress. Even if you are not taking the Doddick Fell route. it is always good to know about alternatives to that you are ready to use, just in case. Those pesky Atlantic storms can hit with little warning.
As shown above, Halls Fell is the one section of the first leg of the BGR that needs proper consideration, ideally before heading out of Keswick. I’ve suggested taking Halls Fell if you’re comfortable with a bit of light scrambling, but Doddick should always be kept in mind.
As you can see from the map here, it essentially loops around Halls Fell but still brings you to the same point as the base of Blencathra, hence the detour isn’t quite so time-consuming, but does add extra minutes which you might have to find someplace else on the BGR.
The images below show this detour-route and its gentle nature. It is a tad steep at the top but soon levels out to a much nicer decline that you can quickly speed over. Once at the base of Doddick Fell it is just a matter of heading right (west) and along the base of Halls Fell until you reach the old mine works at the small beck.
From this point you simply follow the same route to Threlkeld Cricket Club and take your break at the car park while your highly supportive support team feed you rice pudding, bananas, and bagels.
If sum, if you are worried about the crags of Halls Fell, or if that pesky weather window has closed too quickly, you should consider the Doddick Fell Alternative. Under most other conditions just take the conventional ridge line and get that rice puddings 30 minutes sooner.


©Grey O’Dwyer: Life on the Rocks | 2023 | All Rights Reserved